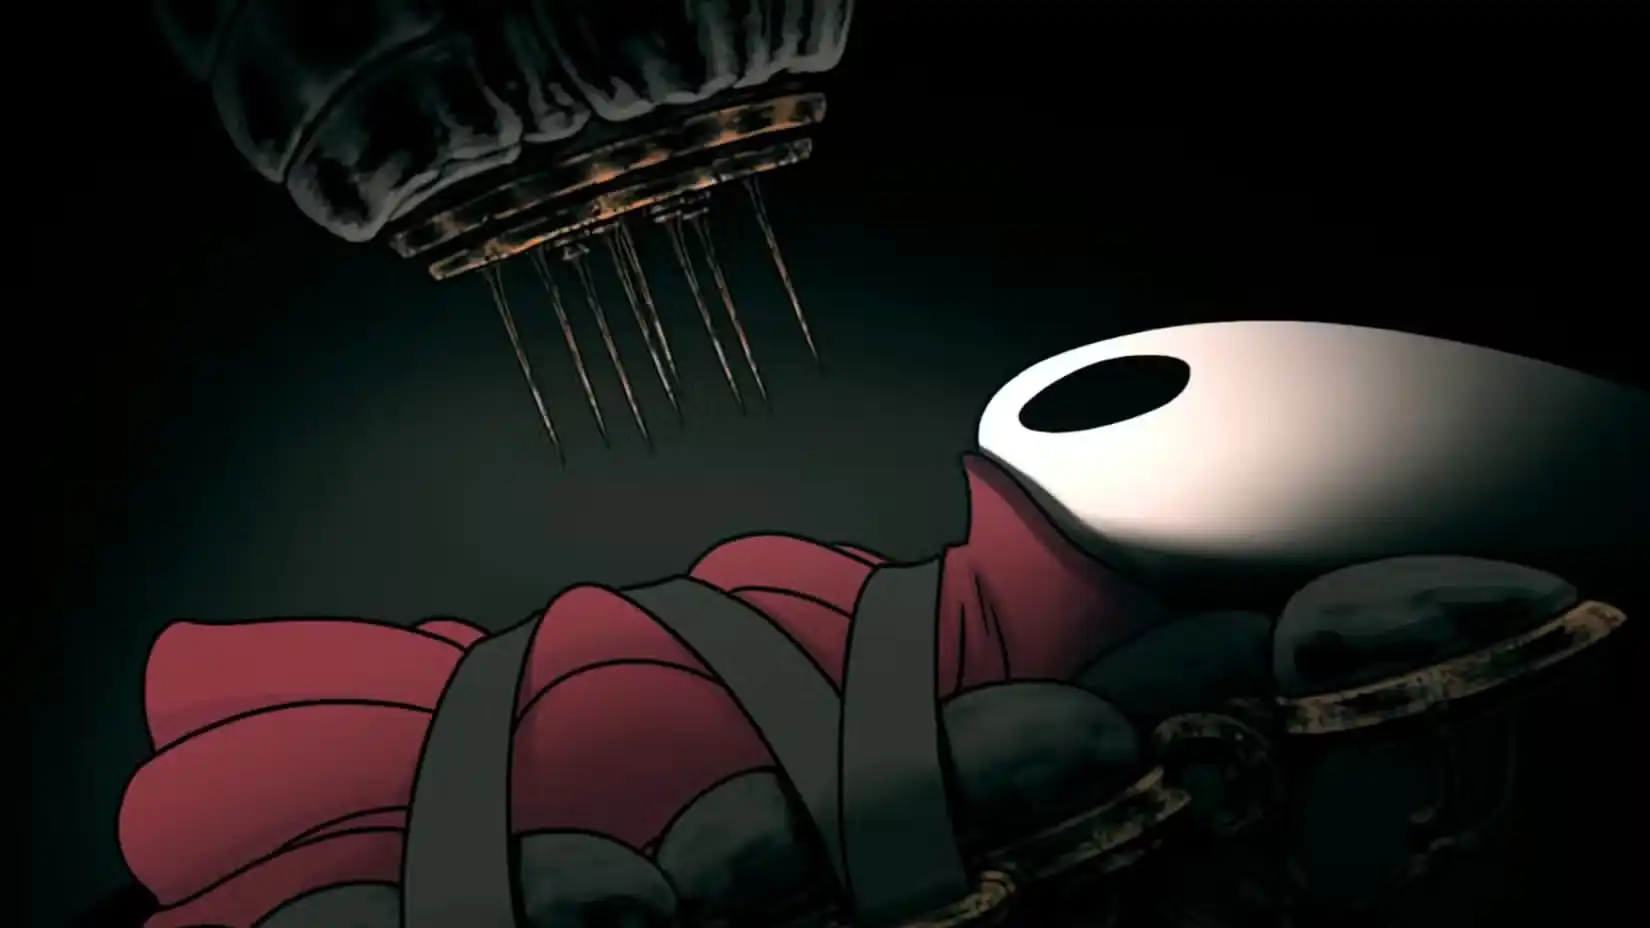
Master the challenging Twisted Bud quest in Hollow Knight: Silksong. Learn how to find the item, survive the parasite curse, and unlock the powerful Crest of the Witch.
What Makes the Twisted Bud Quest So Special?
The Twisted Bud quest stands out as one of Hollow Knight: Silksong’s most daring design choices. It’s essentially asking players: “What if we took away everything that makes Hornet powerful?” The result is a genuinely terrifying experience that transforms familiar gameplay into something completely alien.
What caught me off guard during my first playthrough was how the quest doesn’t just challenge your skills—it fundamentally changes your relationship with the game. When that screaming bud first appeared in my inventory, I knew I was in for something different.
Finding the Twisted Bud: Your Journey Begins in Bilewater
Getting to Bilewater the Smart Way
While you can reach Bilewater through Sinner’s Road early on, I strongly recommend taking the Whispering Vaults route. Here’s why:
- Faster access – Drops you almost directly above the Twisted Bud
- Better positioning – Avoids early-game difficulty spikes
- Strategic advantage – You’ll likely have better tools and abilities
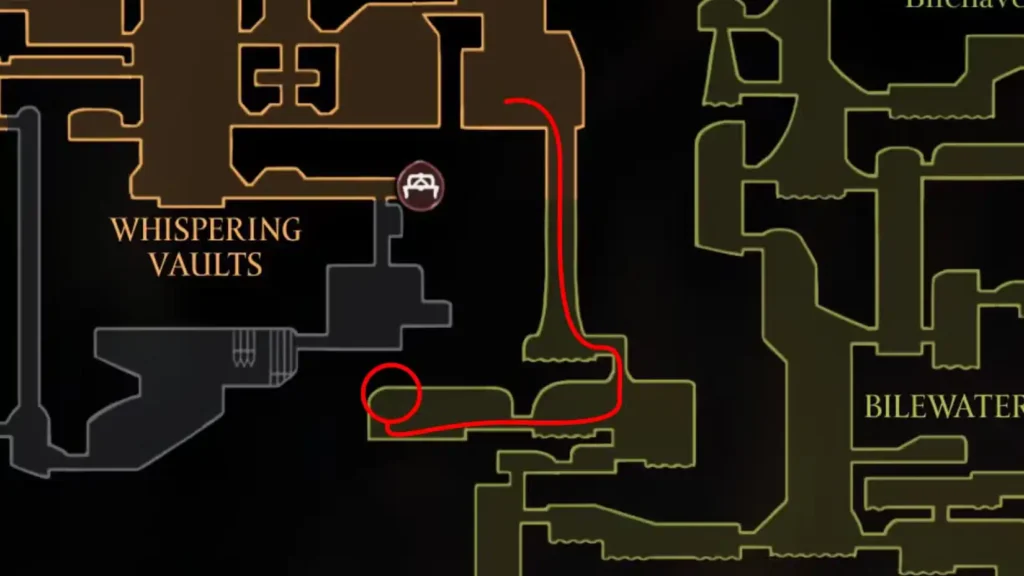
Twisted Bud Location Walkthrough
From Whispering Vaults:
- Navigate to the bottom-right corner of the area
- Drop down into Bilewater proper
- Head right, then drop down again immediately
- Go left into the dark, vine-filled chamber
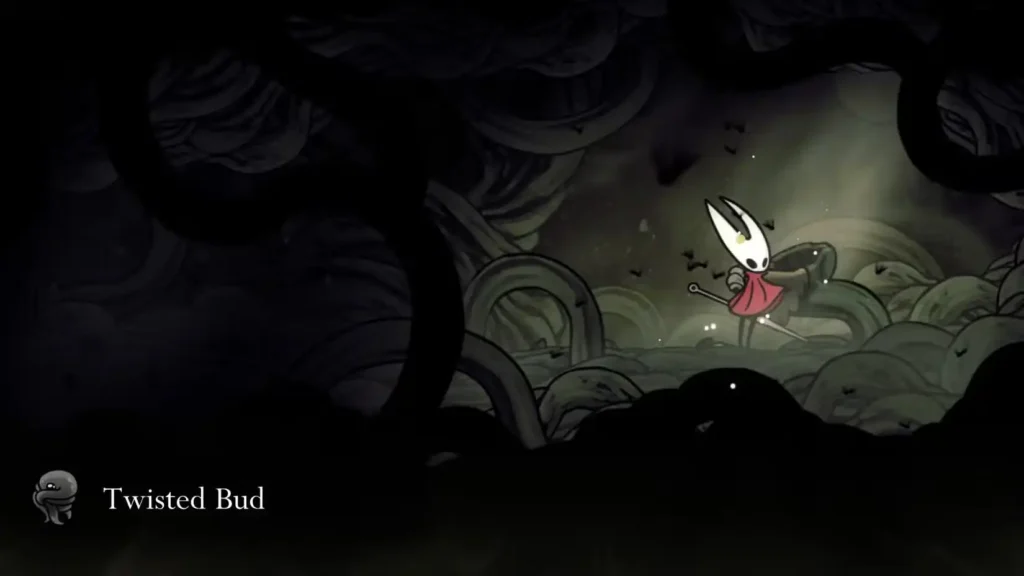
- Look up-left for the distinctive Twisted Bud
Pro tip: The room has a distinctly ominous atmosphere—twisted vines everywhere and an unsettling ambient sound. If you’re not feeling creeped out, you’re probably in the wrong place!
What to Do With Your Screaming New Friend
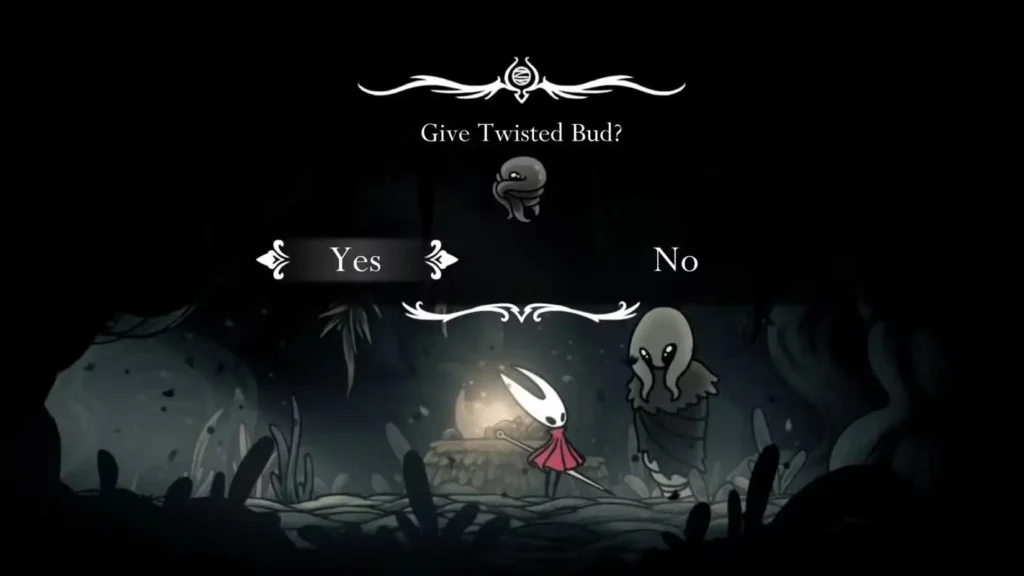
The Greyroot Connection
Once you pick up the Twisted Bud, you’ll immediately understand why it’s called “screaming.” Every menu interaction becomes an audio assault. The solution? Visit Greyroot in their hidden Shellwood hut.
Important prerequisite: Complete the Rite of the Pollip quest first. Greyroot won’t even acknowledge the Twisted Bud without this step.
The Point of No Return: Rite of Rebirth
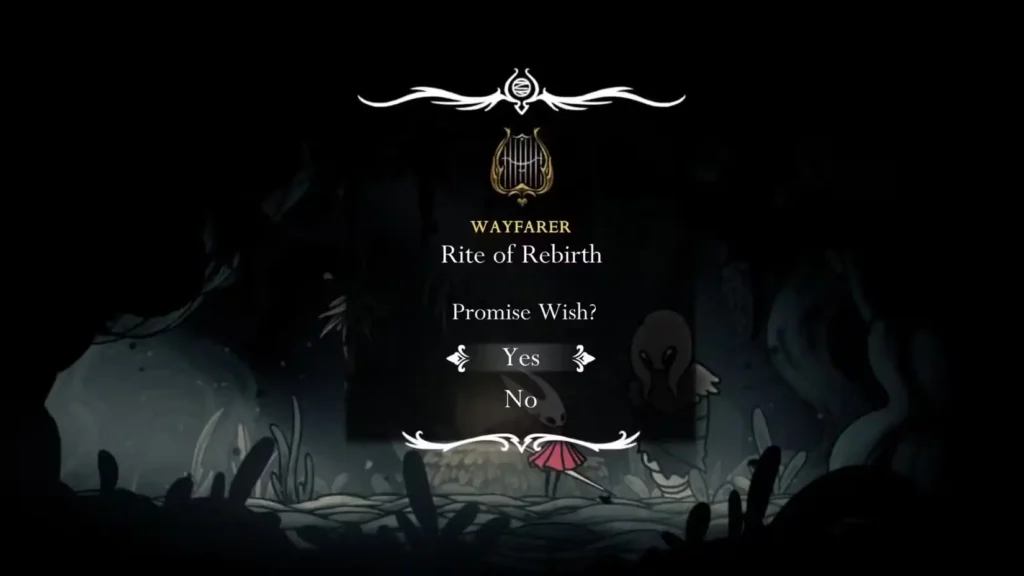
Here’s where things get serious. When Greyroot offers the “Rite of Rebirth,” you’re essentially signing up for:
- Complete moveset transformation
- No healing abilities
- No tool usage
- No silk generation
- 1-2 hours of challenging gameplay
Achievement hunters, take note: Completing the entire game while infested unlocks the “Cursed” achievement—one of the most brutal challenges in Silksong.
Surviving the Parasite: A Step-by-Step Removal Guide
Phase 1: Escape and Reorient (Chapel of the Witch)
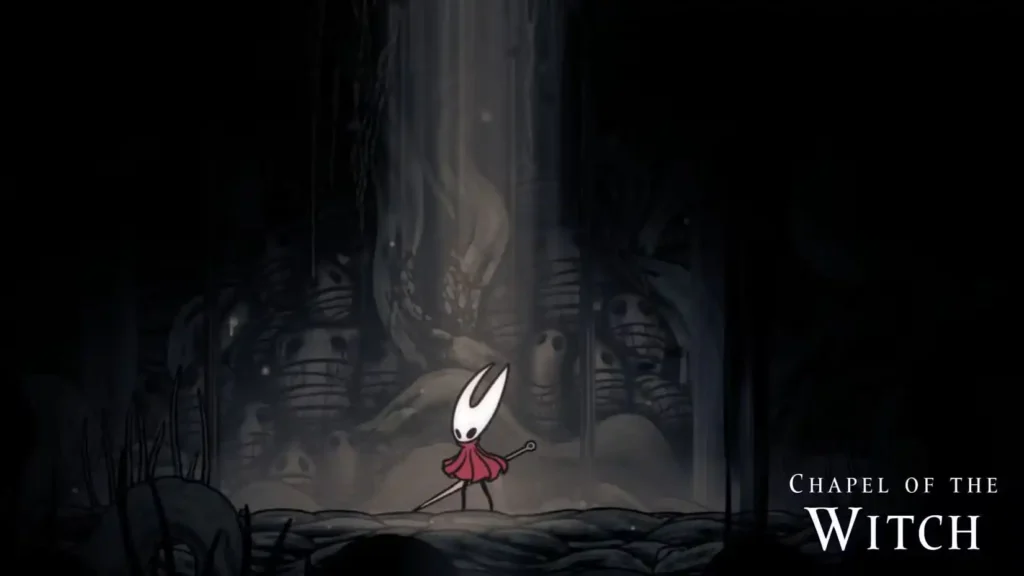
After Greyroot’s… aggressive intervention, you’ll wake up in the Chapel of the Witch. Your first priority:
- Break free by mashing the attack button
- Test your new limitations – try healing (you can’t), try using tools (nope)
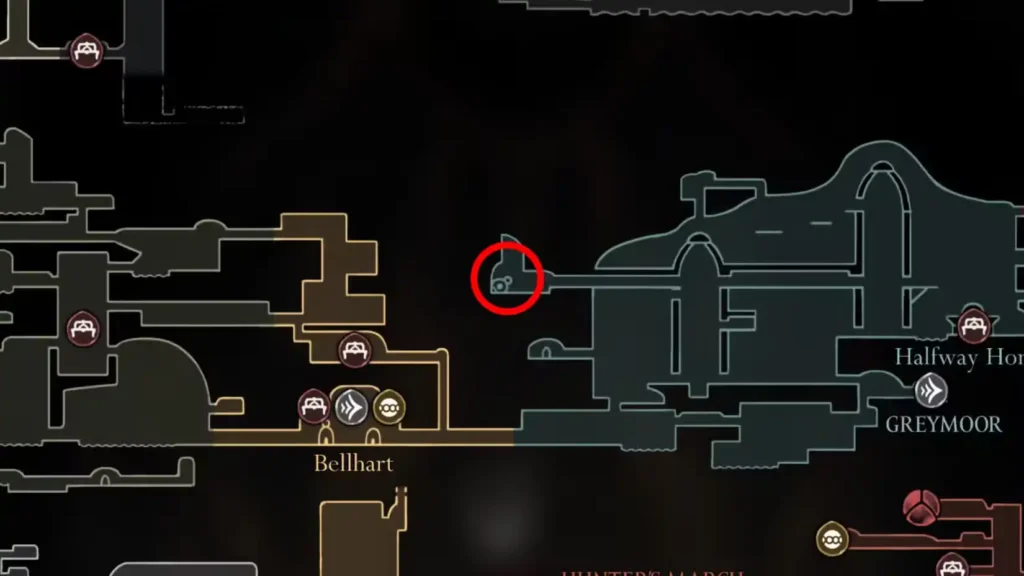
- Head to Bellhart via the lower Shellwood route
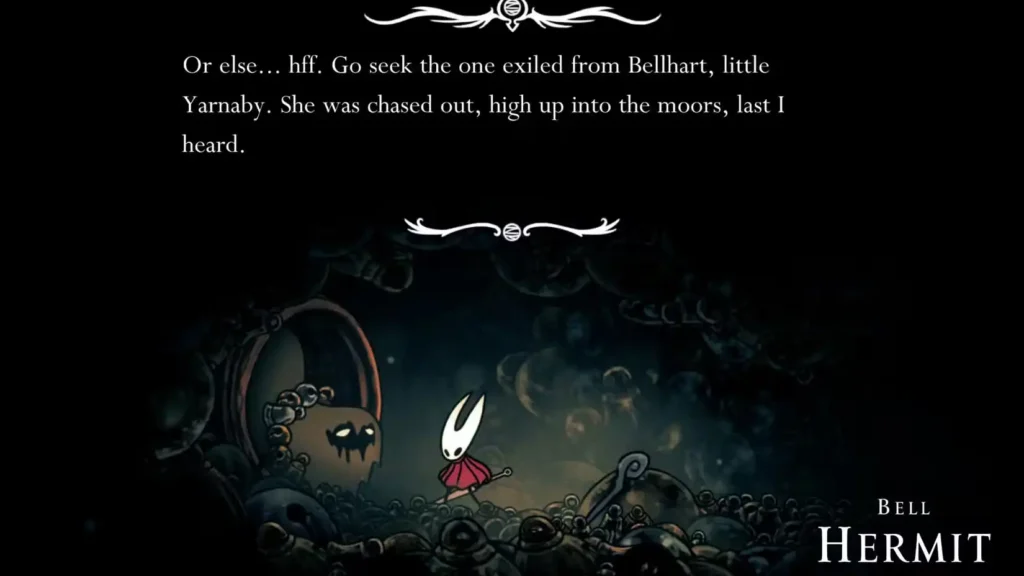
Phase 2: Consulting the Bell Hermit
The Bell Hermit becomes your lifeline in this quest. Finding them requires:
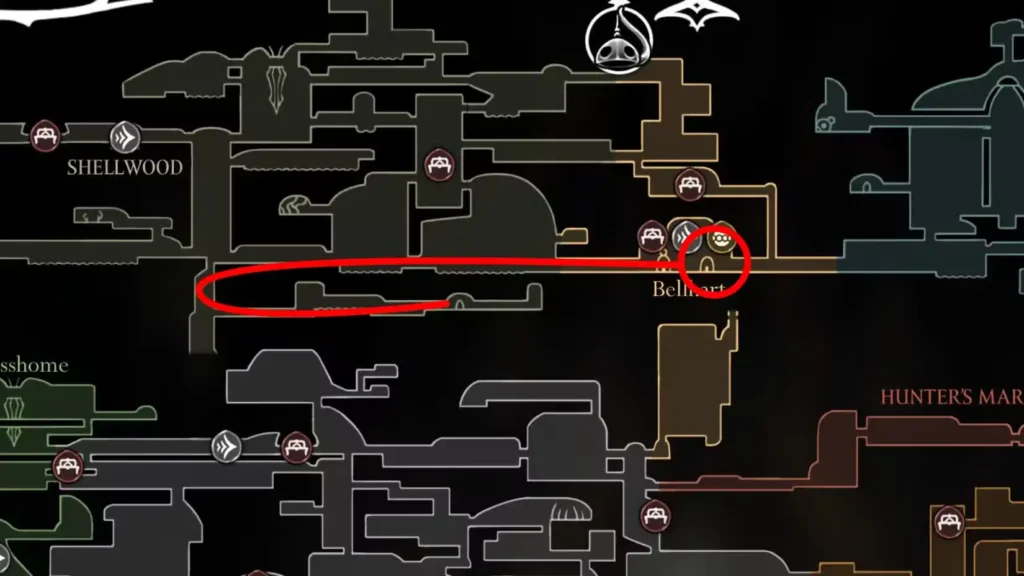
- Enter Bellway Station in Bellhart
- Look for a breakable wall right of the Call spot
- Drop into the bell tunnels below
- Head left to find the hermit in their pipe dwelling
The Bell Hermit will point you toward Yarnaby—a surgeon with the skills (and questionable ethics) needed for parasite removal.
Phase 3: Finding Yarnaby the Surgeon
Yarnaby’s location in Greymoor requires some platforming skills:
- Navigate to Greymoor (right of Bellhart)
- Climb to the top-level rafters
- Head to the top-left corner
- Call out at the Locked Bellhome
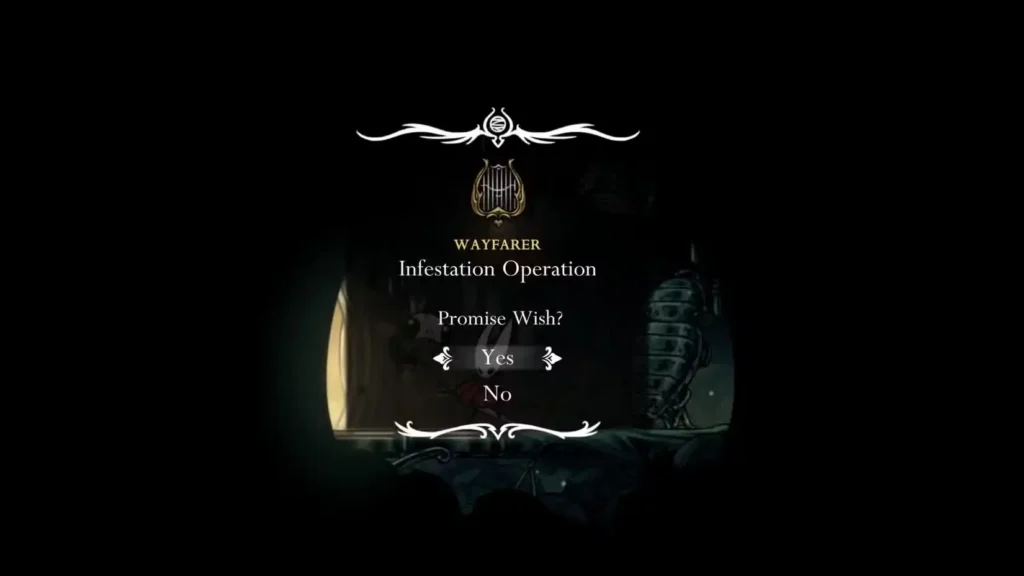
Yarnaby will open up after hearing your situation. His “Infestation Operation” quest is your ticket to freedom.
Phase 4: The Steel Spines Shopping Trip
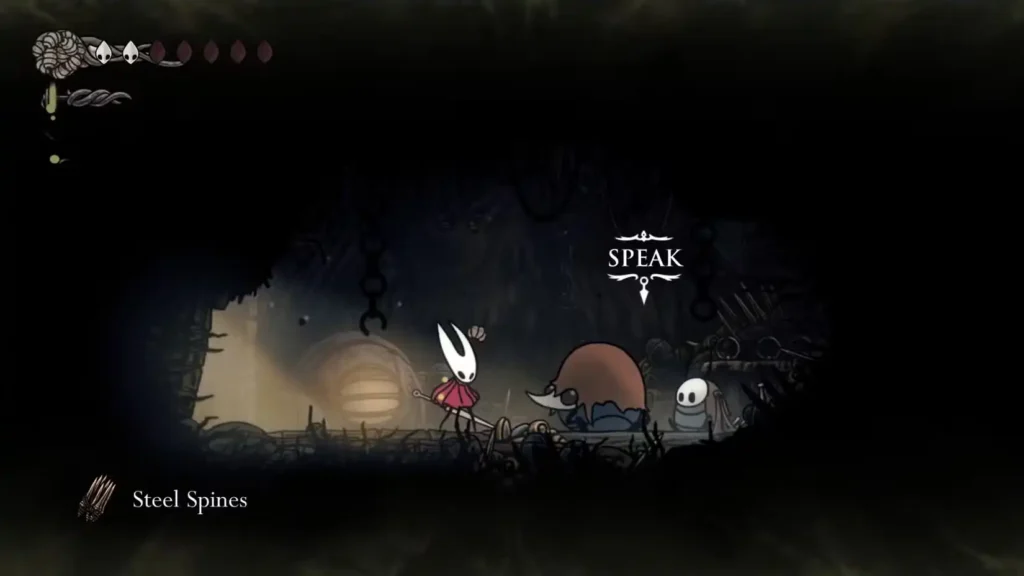
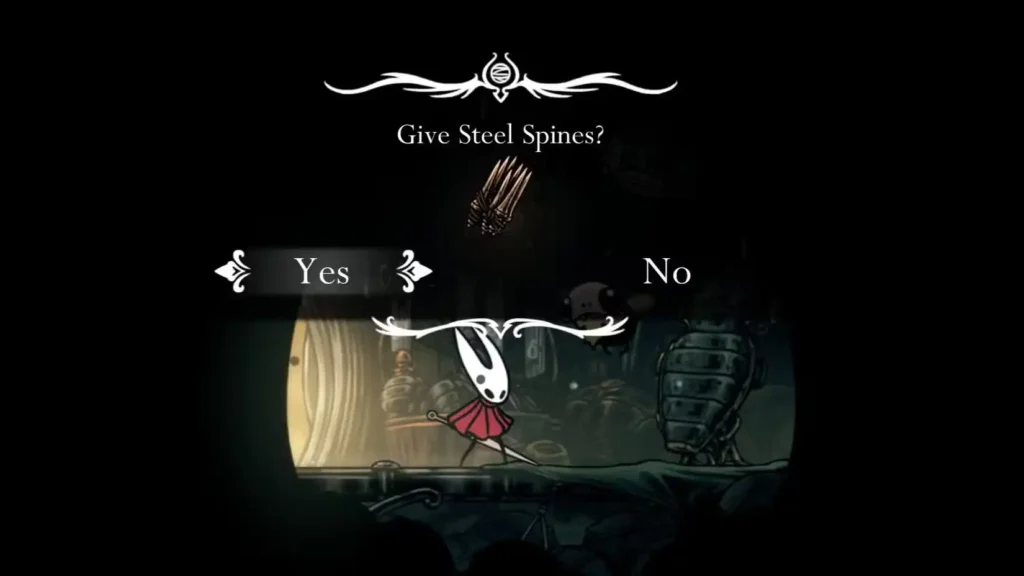
This is where things get expensive. Yarnaby needs Steel Spines, and Crull and Benjin in Sinner’s Road have them—for 220 Rosaries.
Money-saving tips:
- Check your Rosary farming strategies
- Complete side quests for Rosary rewards
- Break larger Rosary Strings if you have them
Getting to Crull and Benjin:
- From Yarnaby’s bellhome, head right to Halfway Home
- Unlock the elevator shortcut (trust me on this)
- Jump over the elevator and continue right
- Climb up to enter Sinner’s Road
- Navigate to the hut in the top-right corner
Phase 5: The Operation (Not for the Squeamish)
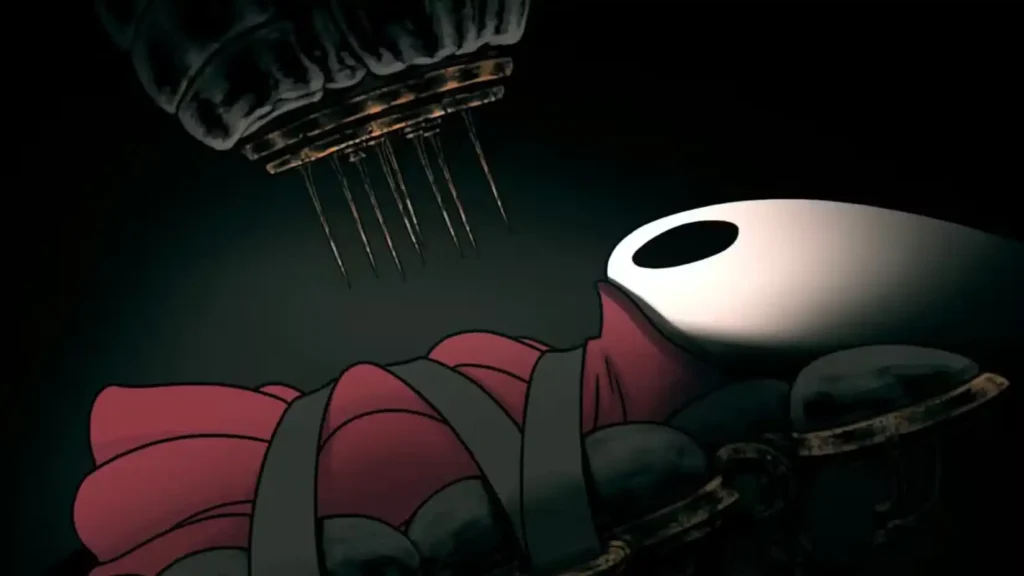
Return to Yarnaby with the Steel Spines, and prepare for one of Silksong’s most intense cutscenes. The operation sequence is genuinely unsettling—complete with mechanical sounds and Hornet’s distressed reactions.
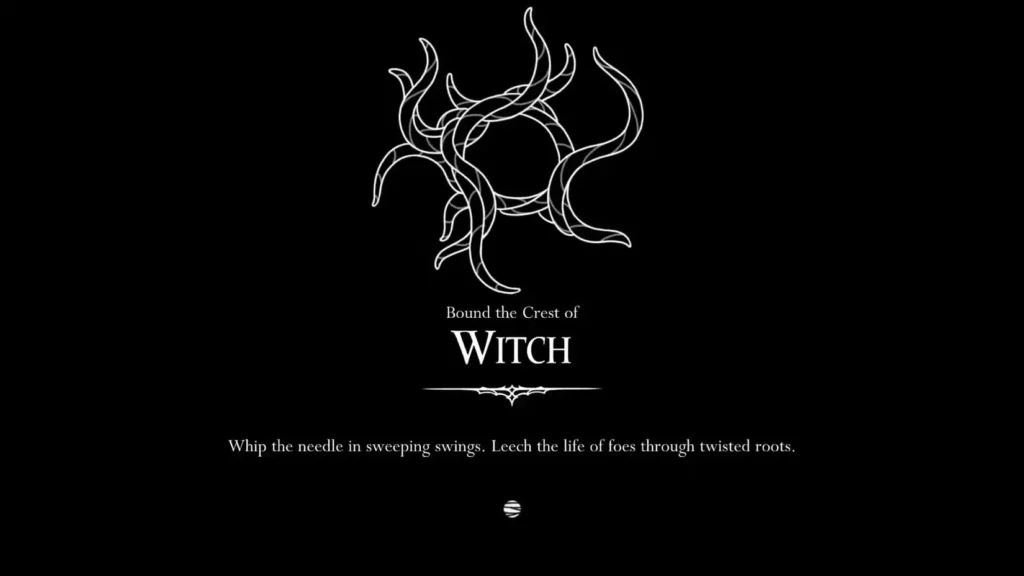
Your Reward: The Crest of the Witch
After surviving the ordeal, you’ll unlock the Crest of the Witch—and it’s worth every terrifying moment. This crest transforms Hornet into a formidable force:
- Enhanced whip attacks with extended range
- Double-hitting dash and downward slash
- Restored healing and silk generation
- Unique Bind ability that drains enemy health
The Bind mechanic is particularly clever—it encourages aggressive positioning since you can only heal near enemies.
Strategic Considerations for Your Playthrough
When to Start This Quest
For completionists: Wait until you’ve seen other endings if you want the Cursed achievement.
For power gamers: The Witch Crest is incredibly strong, making it worth the temporary struggle.
For story enthusiasts: This quest adds significant depth to Hornet’s character development.
Managing the Difficulty Spike
Playing while infested requires adapting your entire approach:
- Positioning becomes critical without healing
- Enemy knowledge is essential since you can’t tank damage
- Movement skills become your best defense
Where to Get Hollow Knight: Silksong
Ready to tackle this quest yourself? Hollow Knight: Silksong is available on multiple platforms:
- Steam: Download from Steam Store
- Nintendo Switch: Get it on Nintendo Store
- PlayStation: PlayStation Store
- Xbox: Xbox Store
Final Thoughts: Embracing the Challenge
The Twisted Bud quest exemplifies what makes Silksong special—it’s not afraid to completely upend player expectations. Yes, it’s challenging and sometimes frustrating, but it’s also one of the most memorable experiences in the game.
The temporary loss of abilities forces you to truly master Hornet’s movement mechanics and understand enemy patterns in ways you might otherwise skip. When you finally reclaim your power (and then some) through the Witch Crest, the sense of triumph is unmatched.
Whether you’re seeking the ultimate challenge or just curious about one of Silksong’s most unique questlines, the Twisted Bud offers an experience you won’t find anywhere else in the game. Just… maybe save before talking to Greyroot.
Looking for more Silksong guidance? Check out our comprehensive beginner’s guide or learn about essential early game quests to prepare for challenges like this one.


