Mist-Shrouded Prison Complete Walkthrough in Where Winds Meet
The Mist-Shrouded Prison is one of the trickiest tombs you’ll encounter in Where Winds Meet. After clearing the deadly mist from Mistveil Forest, this hidden dungeon becomes accessible—and it’s quite the puzzle. You’ll need to navigate through three confusing loops, avoid deadly traps, and locate all six treasure chests plus one final hidden chest to fully complete this area.
This guide breaks down exactly where to find every chest in the Mist-Shrouded Prison, including the well-hidden final treasure that many players miss.
Prerequisites: Accessing Mist-Shrouded Prison in WWM
Before you can enter the Mist-Shrouded Prison, you’ll need to complete some prerequisite content. The tomb is located in the Mistveil Forest area, which is initially covered in poisonous mist that damages you constantly.
To unlock access, you must complete The Ephemeral Blight quest. This involves finding all the Mistveil Forest cures and delivering them to Zhai Xu. Once you hand over the ingredients, he’ll give you an antidote that permanently removes the harmful mist, making the forest safe to explore. If you’re still working on leveling up for this content, check our fast leveling guide to prepare.
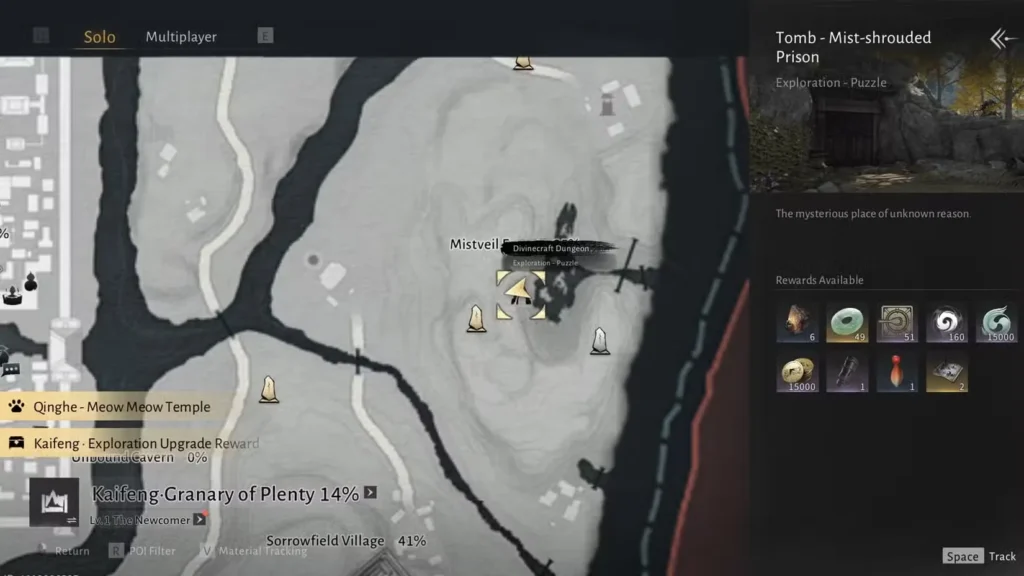
Finding the Mist-Shrouded Prison Entrance
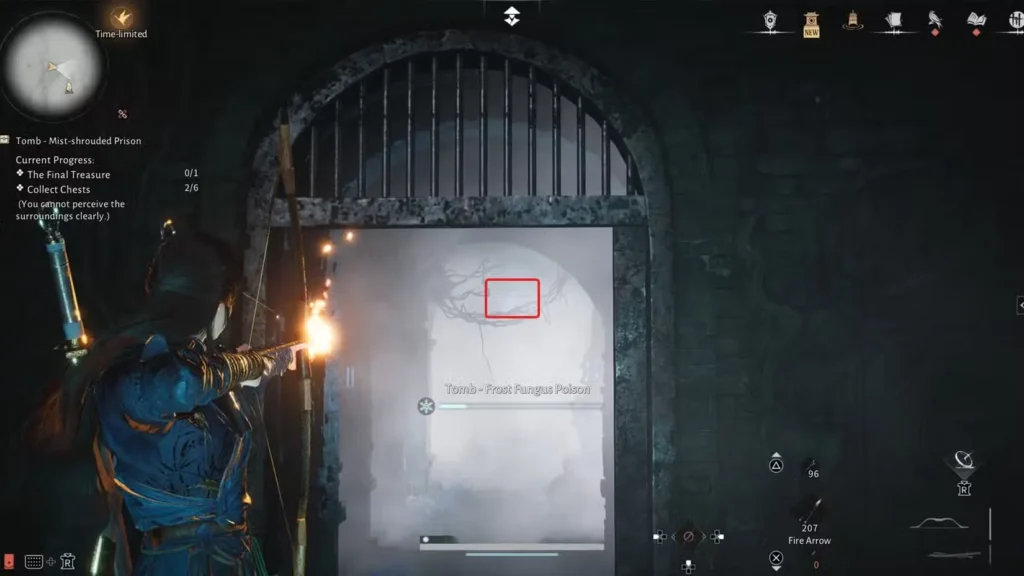
Once the mist is cleared, head to the Central Mistveil Forest and look for the Mist-Shrouded Prison entrance. Enter the tomb and take the elevator down into the depths. At the bottom, you’ll immediately see a blue flower bud blocking your path—destroy it with a fire arrow to proceed.
Important: This tomb operates on a looping mechanic that can be seriously disorienting. There are three distinct loops, and you’ll need to understand which loop you’re in to navigate properly.
Understanding the Three Loops
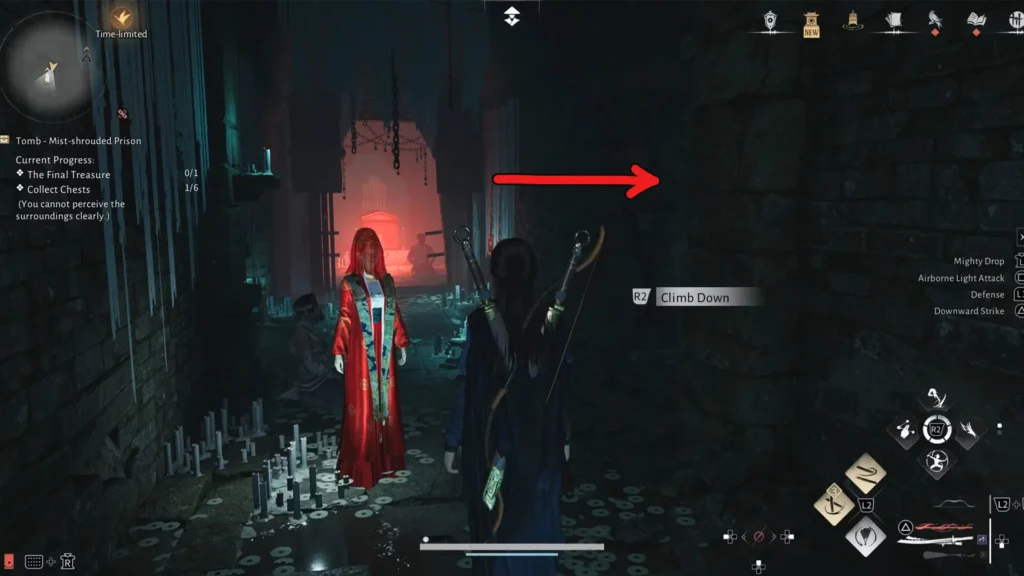
Here’s the key to not getting lost: a mysterious red lady NPC haunts different locations depending on which loop you’re in. Use her position to orient yourself:
- Loop 1: Red lady appears in the red room
- Loop 2: Red lady stands near the ladder
- Loop 3: Red lady is in the corridor filled with blue flowers
Your goal is to find all six regular chests scattered across these loops, then unlock the path to the final treasure chest.
All Mist-Shrouded Prison Chest Locations
Chest #1 – The Red Room
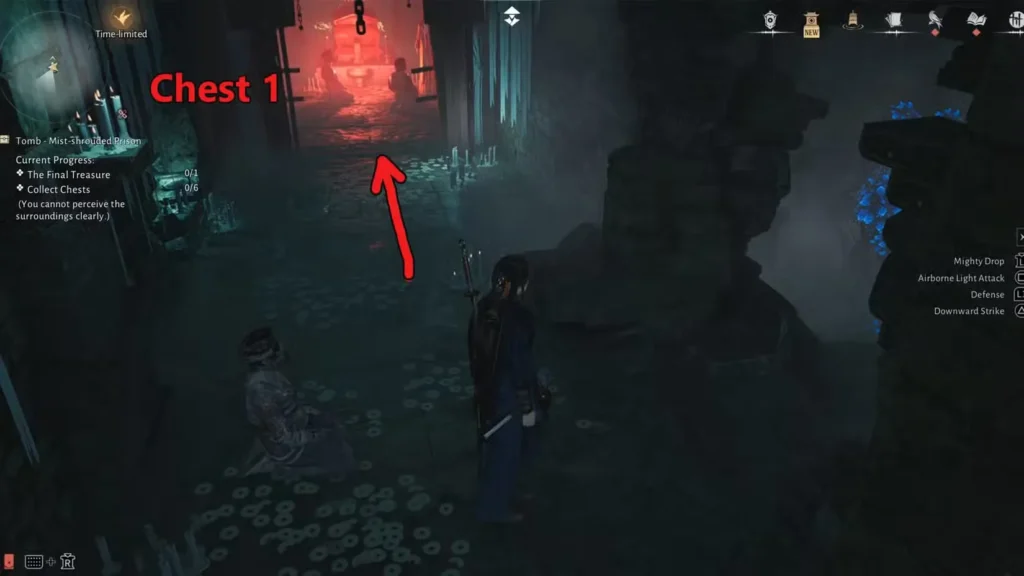
From the entrance, you’ll notice a room blocked by blue flower veins. Ignore that for now—it’s where the final treasure is located, and you can’t access it yet.
Instead, climb the ladder on your left. At the top, you’ll find a red room with the red lady inside. The first chest is sitting right there waiting for you. Easy enough to start.
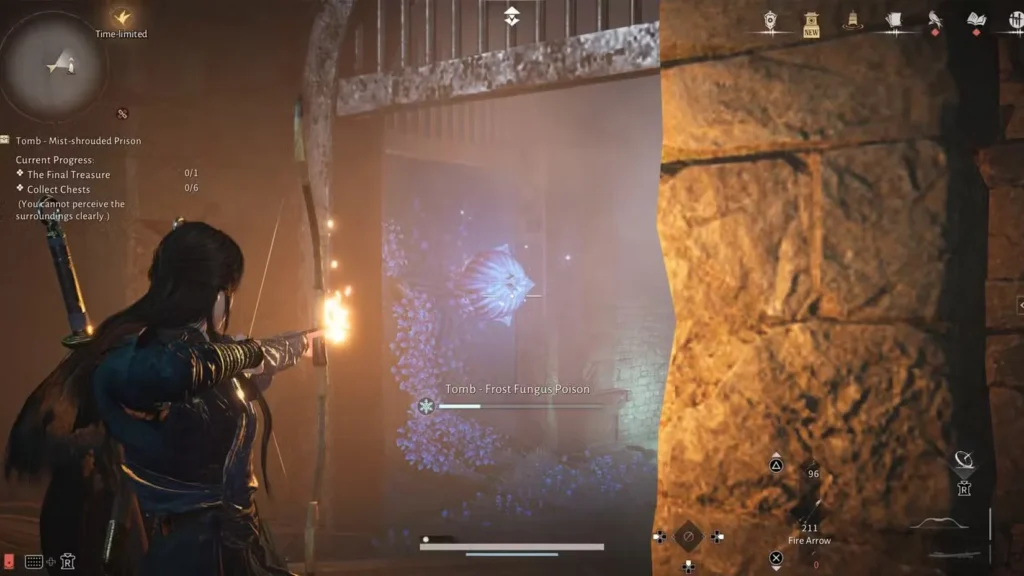
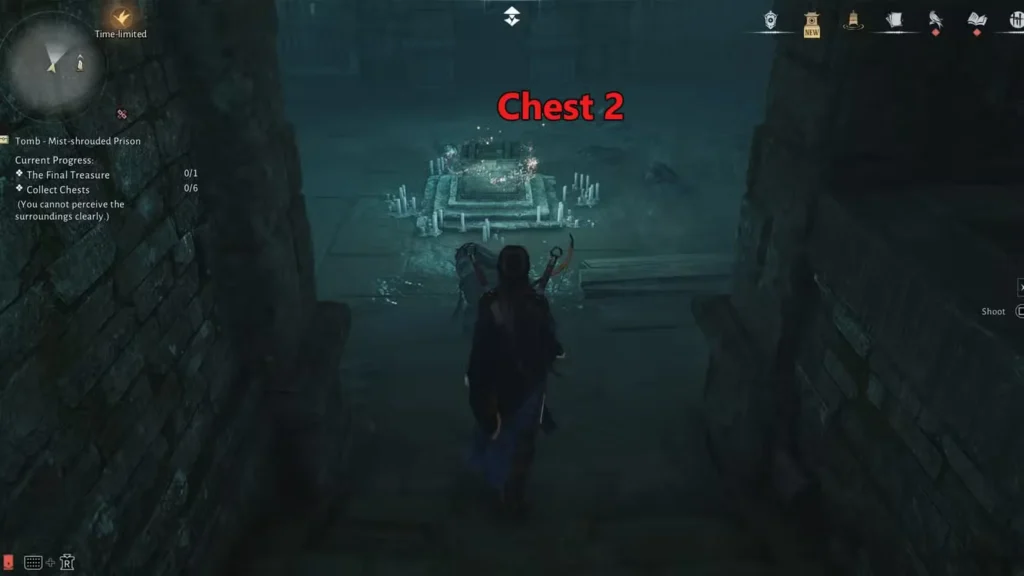
Chest #2 – Beyond the Poison Corridor
Exit the red room and head into the corridor. You’ll immediately get hit with the Frost Fungus Poison status effect, which slowly drains your health. Don’t panic—just push through to the other side while keeping an eye on your healing charges.
Once you reach the far end, shoot the blue flower bud with a fire arrow to clear the path. Continue forward to find the second chest sitting in the open.
Warning: Opening this chest triggers a spike trap from the ceiling. As soon as you grab it, immediately backtrack toward the entrance before the spikes impale you.
Chest #3 – Riding the Spike Trap
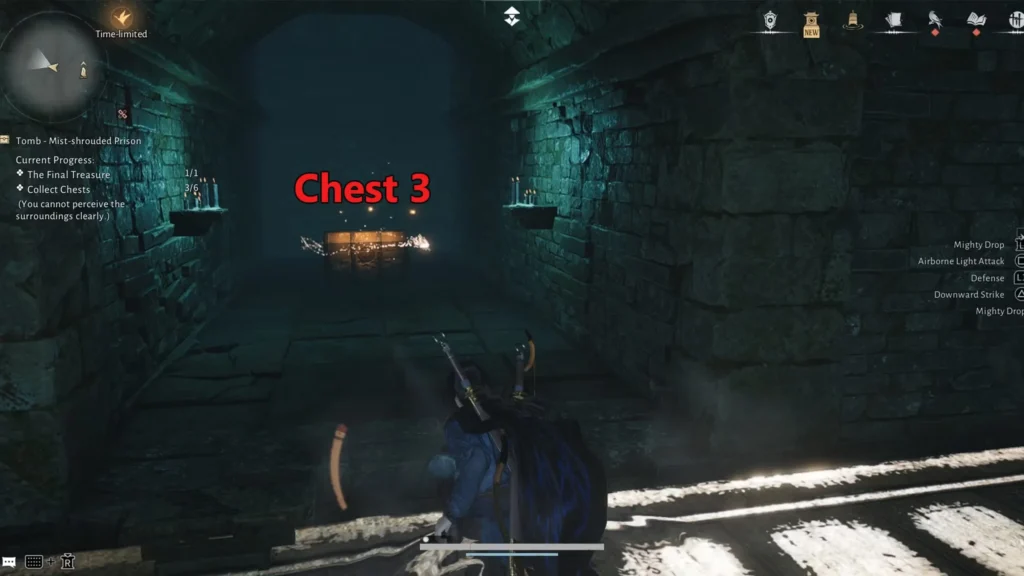
Here’s where things get creative. Those spikes that just tried to kill you? You’re going to use them as an elevator.
Wait for the spike trap to retract back up toward the ceiling, then quickly jump on top of it. Ride it up and look to your left—you’ll spot a small side corridor that was previously unreachable. The third chest is tucked away in this hidden passage.
Chest #4 – Behind the Horizontal Spikes
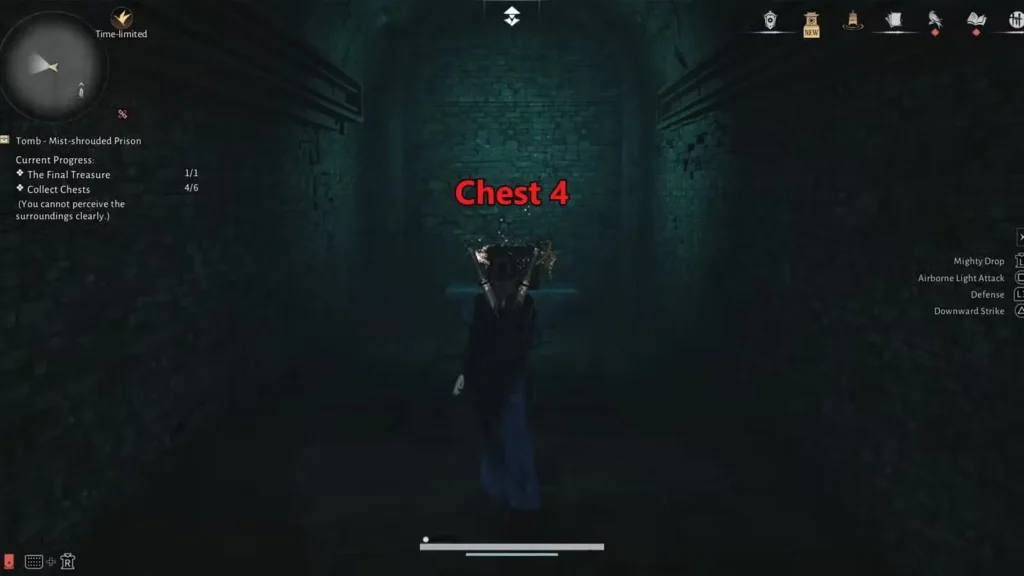
Use the vertical spike trap again to reach the upper area, then climb the ladder you find there. At the top, step onto the pressure plate on the floor. This activates a horizontal spike trap that starts moving forward.
Immediately run back toward the entrance area. Wait for the horizontal spikes to extend fully forward, then quickly sprint behind them while they’re extended. The fourth treasure chest is hidden in the alcove behind where the trap originates.
Timing is everything here—if you mess up, those spikes will absolutely wreck you.
Chest #5 – Deep in Loop 3
After grabbing chest #4, proceed forward through the gates and drop down into what looks like the starting room. This is actually the beginning of Loop 2. Climb the ladder and you’ll see the red lady standing next to it, confirming you’ve entered the second loop.
Walk through the corridor into the familiar spike trap room. Climb up the ladder and step on the pressure plate again to trigger the horizontal spikes. Move forward through the next area to enter Loop 3—the final loop.
In Loop 3, climb the ladder and turn right into a corridor. You’ll see the red lady standing there among the blue flowers. Walk past her through the poisonous section (stay topped off on health) and you’ll find the fifth chest at the end.
Chest #6 – The Precision Jump
After escaping the poison corridor, shoot another blue flower bud you’ll encounter. Keep moving forward until you reach a room with a note sitting on a table.
Now comes the trickiest part of the entire tomb. Turn right and look down through the hole in the floor. Remember that horizontal spike trap from Loop 2? You need to time a jump so you land directly on top of it as it passes beneath this hole.
Wait for the trap to align perfectly, then drop down onto it. As it carries you toward the edge, jump up to the ledge and prepare to fight an enemy lurking in the corner. Once you defeat them, open the sixth and final regular chest.
If you’re struggling with combat encounters like this, our best starting weapons guide and character stats breakdown can help optimize your build.
Finding the Final Treasure Chest
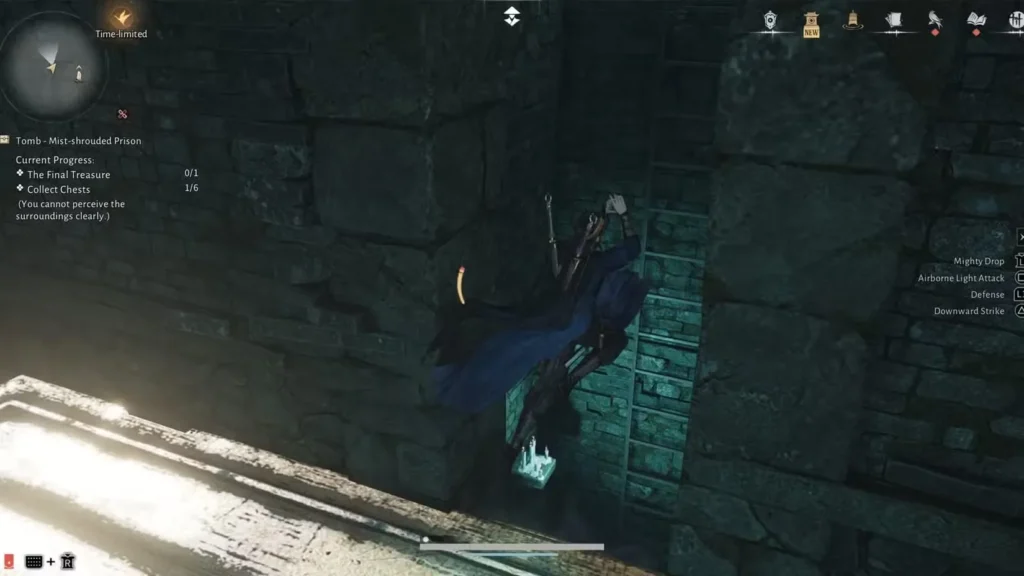
You’ve found all six regular chests, but there’s still one more hidden reward. From the sixth chest’s location, continue moving forward. You’ll fall through a long vertical shaft and land right next to chest #3 from Loop 1.
Head forward into the trap room in Loop 2. Climb onto the horizontal spike trap and look left—there’s another small corridor. Jump into it and make your way down the hole at the end. Jump through the next hole to reach a room with a wide corridor stretching ahead.
At the far end of this corridor, you’ll find one final blue flower bud. Destroy it with a fire arrow, then pass through the gates. This brings you back to the original room from Loop 1.
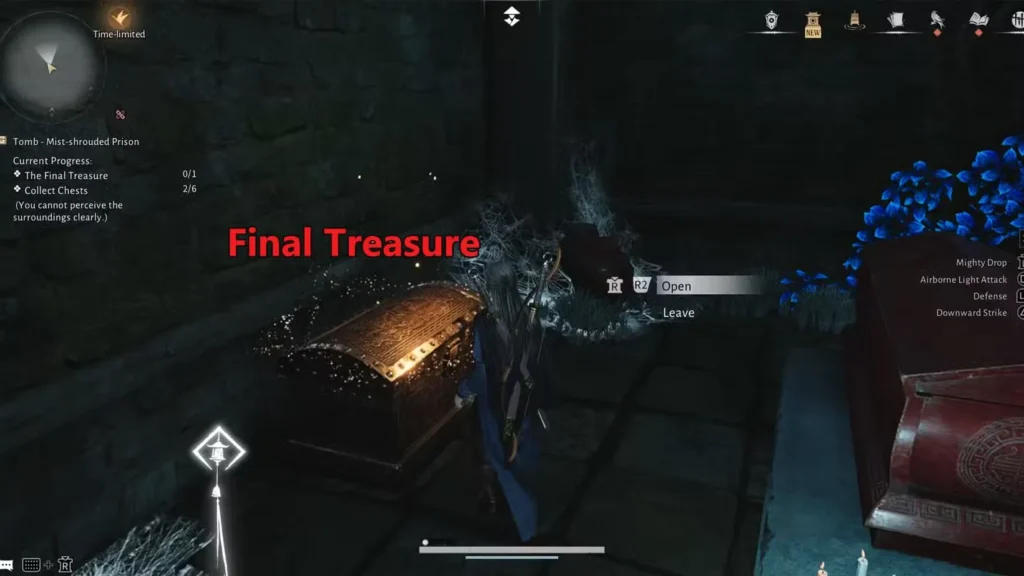
Remember that door covered in veins that you couldn’t access at the very beginning? It’s now open. Head through it and follow the path to the end. The final treasure chest awaits you there with the best rewards from this entire tomb.
Completing the Tomb
After claiming the final treasure, you’ll see the red lady one last time. Approach her and press the “Rest in Peace” prompt to pay your respects. This officially completes the Mist-Shrouded Prison tomb and marks it as finished in your exploration log.
The rewards from this tomb are definitely worth the effort, especially if you’re working on breaking through level caps or collecting materials for gear upgrades.
Tips for Navigating Mist-Shrouded Prison
- Always carry fire arrows: You’ll need them multiple times to destroy blue flower buds blocking your path
- Watch your health in poison sections: The Frost Fungus Poison effect stacks up quickly—don’t be afraid to use healing items
- Take your time with trap timing: The spike traps have consistent patterns—observe them before committing to risky jumps
- Use the red lady as your compass: If you’re lost, find her to figure out which loop you’re in
- Mark your progress mentally: It helps to verbally confirm which chests you’ve collected as you go
For more dungeon content, check out our guides on all Divinecraft dungeon locations and the Echoes in Shrine dungeon.
Available on Steam and PlayStation, Where Winds Meet features dozens of challenging tombs and dungeons to explore.
FAQs About Mist-Shrouded Prison in Where Winds Meet
How do I access the Mist-Shrouded Prison in Where Winds Meet?
You must first complete The Ephemeral Blight quest by finding all Mistveil Forest cures and delivering them to Zhai Xu. This removes the poisonous mist from the area. The tomb entrance is located near the Central Mistveil Forest—take the elevator down and destroy the blue flower bud with a fire arrow to enter.
How many chests are in the Mist-Shrouded Prison tomb?
There are seven total chests: six regular treasure chests scattered throughout the three loops, plus one final treasure chest hidden in a secret room. You need to collect all six regular chests and navigate a specific path to unlock access to the final reward.
How do the loops work in Mist-Shrouded Prison?
The tomb has three distinct loops that can be identified by the red lady NPC’s location. In Loop 1, she’s in the red room. In Loop 2, she stands near the ladder. In Loop 3, she appears in the corridor with blue flowers. Use her position to orient yourself and track your progress through the dungeon.
What’s the hardest chest to get in Mist-Shrouded Prison?
Chest #6 is generally considered the trickiest because it requires precise timing. You need to drop through a hole and land on a moving horizontal spike trap from Loop 2, then ride it to a hidden ledge while avoiding damage. The final treasure chest is also easy to miss if you don’t know the exact navigation route through the loops.