Blueprints are the gateway to endgame power in Arc Raiders. Without them, you’re stuck with basic gear while other players run around with legendary weapons and rare attachments that make PvP encounters feel brutally one-sided. If you want to upgrade your weapons and unlock the best equipment in the game, you need blueprints—and lots of them.
The problem? Blueprints are randomized loot that typically spawn in high-traffic, dangerous areas where you’re just as likely to get shot in the back by another Raider as you are to find that legendary recipe you need. But here’s the good news: there are low-risk farming routes that consistently yield blueprints without forcing you into constant firefights.
Let me break down the best spots for farming blueprints, starting with safe early-game locations and progressing to high-tier zones for when you’re ready to take bigger risks for better rewards.
Understanding Blueprint Mechanics in Arc Raiders
Before we dive into specific locations, let’s talk about how blueprints actually work in this game.
What Are Blueprints?
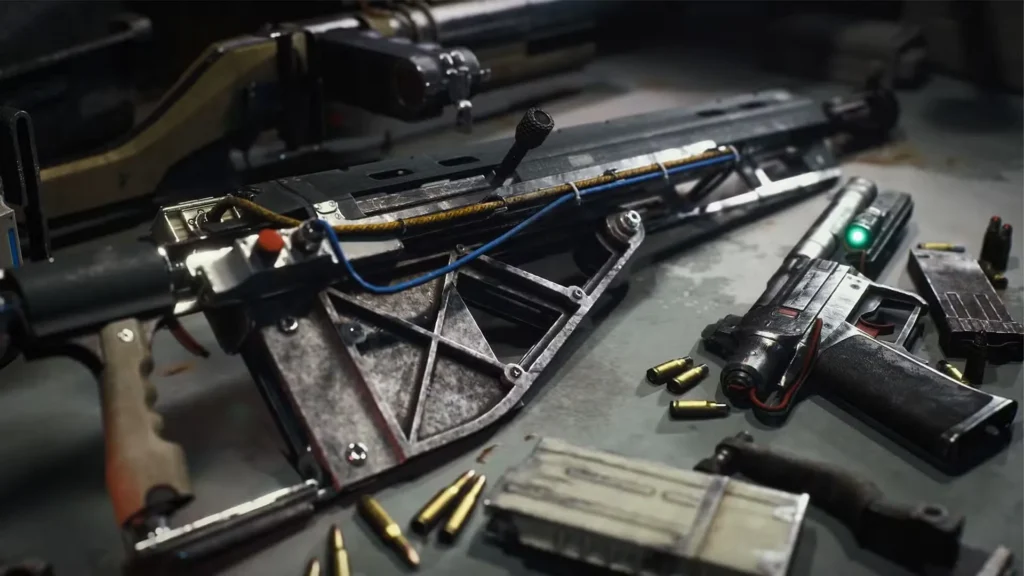
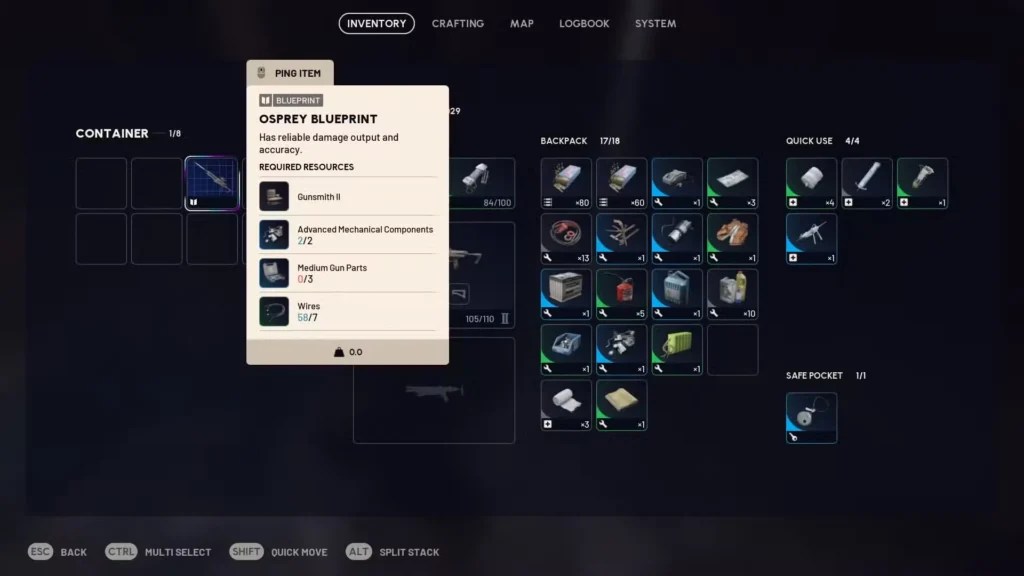
Blueprints are consumable precious resources that unlock crafting recipes for:
- Advanced weapons (including rare and legendary variants)
- Powerful gadgets and ordnance
- High-tier equipment attachments
- Specialized survival gear
Once you consume a blueprint, the recipe is permanently unlocked in your workbench, allowing you to craft that item repeatedly as long as you have the necessary materials.
Where Do Blueprints Spawn?
Blueprints are randomized global loot that follows certain spawn rules:
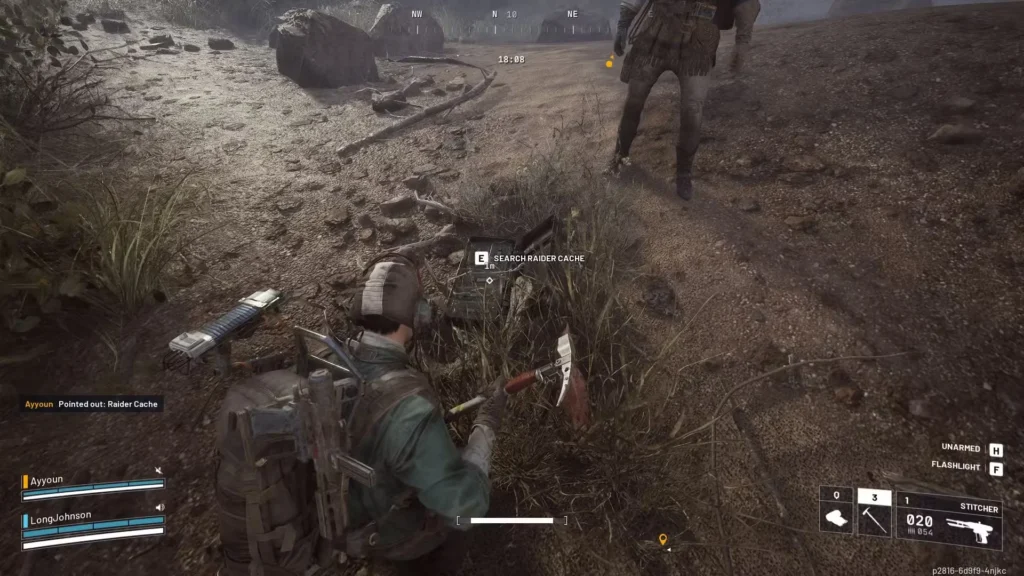
- Most common in Medium and Heavy Loot zones—areas marked with higher loot density
- Found in specific container types—Weapon Crates, Raider Caches, and high-tier containers
- Completely randomized—you can get duplicates or new recipes; it’s pure RNG
- Higher spawn rates during Night Raids—loot increases by approximately 150% during night cycles
The challenge is that medium and heavy loot zones are naturally dangerous. They attract hostile players looking for the same valuable items, and they’re often patrolled by aggressive ARC enemies like Bastions and Bombardiers.
Blueprint Value
Every blueprint sells for 5,000 Coins, making them valuable even when you get duplicates. If you’re farming coins, blueprint farming can be surprisingly profitable, though most players prefer to keep unique recipes for crafting purposes.
Best Early Game Blueprint Farming Spot: Formicai Outpost
If you’re looking for a low-risk, high-reward farming location that you can access early in your Arc Raiders journey, Formicai Outpost is your answer.
Location Details
Map: Dam Battlegrounds
Region: Northeastern side
Risk Level: Low to Medium
Proximity to Extraction: Close to multiple extraction points
Why Formicai Outpost Is Ideal
This isolated tower offers several strategic advantages:
Single entry point: The structure has only one entrance, making it easy to defend if hostile players approach while you’re looting. You can hear them coming and position yourself accordingly.
Low player traffic: Formicai Outpost is somewhat hidden and off the beaten path, so it doesn’t attract the constant attention that more obvious POIs receive.
Consistent spawn points: The outpost contains:
- Two guaranteed crate spawns (one potentially being a Weapon Crate)
- Multiple minor containers (bags, caches, boxes)
- High blueprint drop rate in the main area (approximately 9 out of 10 successful farming runs)
Map positioning: Its isolated location allows you to circle around the map’s edge, avoiding both ARC enemies and other players. This becomes particularly valuable during Night Raids when ARC presence triples.
How to Farm Formicai Outpost Efficiently
Here’s your step-by-step farming route:
- Spawn check: If you spawn near the northeastern Dam Battlegrounds area, head directly to Formicai Outpost
- Approach cautiously: Scout the area before entering—look for signs of other players
- Enter and check immediate loot: Once inside, check containers to your right and left sides immediately
- Clear the main area: Move to the central zone where blueprints most commonly spawn
- Prioritize crates: Focus on the two main crate spawns, especially if one is a Weapon Crate
- Quick extraction: With loot secured, head to the nearest extraction point before other players arrive
Night Raid Strategy
Night Raids dramatically increase blueprint spawn rates (roughly 150% loot boost), but they also triple ARC enemy presence. Here’s how to handle Formicai Outpost during night cycles:
- Use stealth and avoid ARC patrols rather than engaging them
- Move quickly—the increased loot density means more players will be active
- Bring adequate lighting equipment or adjust your PC settings for better visibility
- Have an exit strategy before you even enter the building
Alternative Early Game Spot: Raider Outpost East
If you spawn on the opposite side of Dam Battlegrounds from Formicai Outpost, don’t waste time running across the entire map. Instead, check Raider Outpost East.
What to Expect
Location: Eastern side of Dam Battlegrounds
Blueprint chance: Lower than Formicai Outpost but still viable
Container density: Multiple crates and containers
Player traffic: Moderate—it’s a more obvious location
Raider Outpost East serves as a decent backup option. While the blueprint drop rate isn’t quite as high as Formicai Outpost, it’s still worth checking if you’re nearby. The key is to hit it early before other players strip it clean.
Farming Approach
- Speed is essential—other nearby spawners will likely have the same idea
- Check all containers quickly rather than methodically searching every corner
- Be prepared to fight or flee—this location is less defensible than Formicai Outpost
- Don’t linger—grab what you can and move to extraction
Mid-Game Blueprint Farming Locations
Once you’ve gotten comfortable with the game mechanics and have some decent gear, you can start hitting medium-risk zones with better blueprint drop rates.
New District (Buried City)
What to look for: Three caches hidden among fallen pipes
Blueprint chance: Moderate
Risk level: Medium—Buried City attracts players completing quests like Marked for Death
The fallen pipe area in New District requires some exploration, but the caches here regularly contain blueprints. The advantage is that many players rush through this area without thoroughly checking these specific spawn points.
Pro tip: Stack this with material farming—New District is decent for Rusted Gears and Mechanical Components.
Shipping Warehouse (Spaceport)
What to look for: Containers throughout the warehouse complex
Blueprint chance: Moderate
Risk level: Medium—open layout makes ambushes common
The Shipping Warehouse has numerous container spawns spread across the facility. The blueprint chance per individual container is lower, but the sheer volume means you’ll often find at least one during a thorough sweep.
Warning: The open design and multiple entry points make this location dangerous for solo players. Consider running this with teammates who can watch your back.
Adorned Wreckage (Blue Gate)
What to look for: Raider’s Cache (follow the beeping sound)
Blueprint chance: High when the cache spawns
Risk level: Low to Medium—this is also a quest location
If you’re already in Blue Gate completing With a Trace, take time to search for the Raider’s Cache at Adorned Wreckage. It doesn’t always spawn, but when it does, it frequently contains blueprints.
The beeping sound is your guide here—put on headphones and listen carefully as you explore the area. The cache is often tucked away in less obvious locations.
High-Risk, High-Reward Late Game Farming Spots
When you’re geared up and ready to compete for the best loot, these locations offer the highest blueprint spawn rates—at the cost of constant danger.
Control Tower (A6)
What to look for: Containers on the first floor
Blueprint chance: High
Risk level: VERY HIGH—heavily contested by experienced players
Control Tower is one of the most dangerous locations in Arc Raiders. Nearly every container on the first floor has blueprint spawn potential, but you’ll almost certainly encounter hostile players here.
Combat preparation:
- Bring your best gear—this isn’t a place for budget loadouts
- Use Safe Pockets to protect valuable finds
- Have a Medium or Heavy Shield equipped
- Know multiple extraction routes before you arrive
Village (Blue Gate)
What to look for: Containers throughout the settlement
Blueprint chance: High across multiple spawn points
Risk level: High—excellent ambush opportunities for hostile players
The Village offers great blueprint density, but it’s an ambush paradise. Buildings, walls, and structures provide countless hiding spots for players waiting to eliminate unsuspecting farmers.
Survival tips:
- Never enter blindly—scout from a distance first
- Move unpredictably—don’t follow obvious pathing routes
- Listen constantly—footsteps and gunfire give away player positions
- Fight or flight decision—know when to abandon the loot and extract
Pilgrim’s Peak (Blue Gate)
What to look for: Multiple high-tier containers and caches
Blueprint chance: Highest in Blue Gate
Risk level: EXTREME—maximum ARC enemy presence plus hostile players
Pilgrim’s Peak represents the ultimate risk-reward proposition for blueprint farming. The drop rates are excellent, but you’re dealing with:
- Dense ARC enemy patrols (including Harvesters)
- Aggressive player presence
- Limited escape routes
- Distant extraction points
This location is only recommended for well-equipped players or coordinated teams. If you’re completing Reduced to Rubble or other Blue Gate quests, you might as well check Pilgrim’s Peak, but don’t go out of your way unless you’re confident in your combat skills.
Advanced strategy: Consider combining this with Harvester looting if you encounter one nearby—Harvesters drop legendary blueprints.
Blueprint Farming Best Practices
Loadout Considerations
For low-risk spots (Formicai Outpost, Raider Outpost East):
- Minimal gear to reduce losses if you die
- Basic weapons for self-defense
- Safe Pockets for protecting blueprint finds
For high-risk spots (Control Tower, Pilgrim’s Peak):
- Full combat loadout with upgraded weapons
- Medium or Heavy Shield
- Healing items and grenades
- Maximum Safe Pocket protection
Farming Efficiency Tips
Route optimization: Plan your path to hit multiple potential spawn points in a single raid rather than focusing on just one location.
Timing: Early in a raid cycle, fewer players have had time to loot the map. Mid-raid, many have extracted or died, leaving loot respawns unclaimed.
XP farming combo: While blueprint farming, eliminate ARC enemies for experience toward max level.
Material collection: Don’t ignore crafting materials while blueprint hunting. Grab Rusted Tools, Mechanical Components, and other resources you encounter.
Dealing with Duplicates
Getting duplicate blueprints is frustrating, but here’s how to make the most of it:
- Sell for 5,000 Coins—that’s decent money for purchasing upgrades
- Don’t get discouraged—RNG is RNG; keep farming
- Track what you need—maintain a mental or physical list of which blueprints you’re still missing
Common Blueprint Farming Mistakes
Overstaying your welcome: Players often get greedy and keep looting after finding a blueprint, increasing their death risk. Get the blueprint and extract.
Ignoring audio cues: Footsteps, gunfire, and ARC sounds provide critical information. Don’t farm with music blasting—you’ll miss threats.
Running the same route repeatedly: Other players learn patterns. Vary your approach and farming locations to stay unpredictable.
Fighting unnecessarily: Every combat engagement risks losing your blueprints. Avoid fights unless you’re confident you’ll win or have no choice.
Not using Security Breach items: Security Lockers sometimes contain blueprints—don’t ignore them.
Final Thoughts
Blueprint farming in Arc Raiders requires balancing risk versus reward. Early on, stick to safe spots like Formicai Outpost where you can consistently find blueprints without constantly getting eliminated. As your skills and gear improve, gradually work your way up to more dangerous locations with better drop rates.
Remember that every blueprint you find either unlocks new crafting options or provides 5,000 Coins toward your next equipment purchase. Either way, you’re progressing toward becoming a more capable Raider.
The key to successful farming is consistency and smart risk management. Don’t get discouraged by duplicate drops or the occasional death—just respawn, gear up, and head back out. Over time, you’ll build an impressive blueprint collection that lets you craft the legendary gear needed to dominate both PvE and PvP encounters.
Now get out there and start collecting those recipes. Your workbench is waiting, and those legendary weapons won’t craft themselves.
Available on PlayStation and Xbox, Arc Raiders rewards players who learn the best farming routes. Good hunting, Raider!