When Leon S. Kennedy arrives in East Raccoon City in Resident Evil Requiem, he’s immediately stopped by a reinforced gate rigged with BSAA explosives — and no way to detonate them. The detonator left at the gate is incomplete, split into three separate parts scattered across the ruined city. Until you collect all three, combine them, and bring the finished device back to the gate, you’re not going anywhere.
This is one of the most open-ended sections in RE9, and it’s easy to lose your bearings with zombies everywhere and objectives spread across rooftops, flooded garages, and a bombed-out skyscraper. This guide walks you through every part of the process step by step — the Distributor in the Logistics Warehouse, the Broken Signal Receiver in the Cedarbrook Apartments, the Repair Kit you need to fix it, and finally the Relay at the top of Willis Tower — so you can blow that gate open without unnecessary backtracking.
Quick Answer: The three detonator parts in RE9 are the Distributor (Logistics Warehouse rooftop), the Signal Receiver (Cedarbrook Apartments rooftop — broken, needs a Repair Kit from the BSAA Container at Central Camp), and the Relay (Willis Tower rooftop, accessed via zipline after fuelling the generator). Combine all three in your inventory and return to the gate to detonate it.
Context: Where Does This Objective Start?
This section of the game plays out entirely as Leon, and it takes place in East Raccoon City — the large outdoor area he reaches after surviving the subway tunnels following his encounter with the giant spider. When he emerges onto the street, he meets Sherry near a heavily fortified gate lined with explosives. Interacting with the gate reveals the detonator is missing its key components.
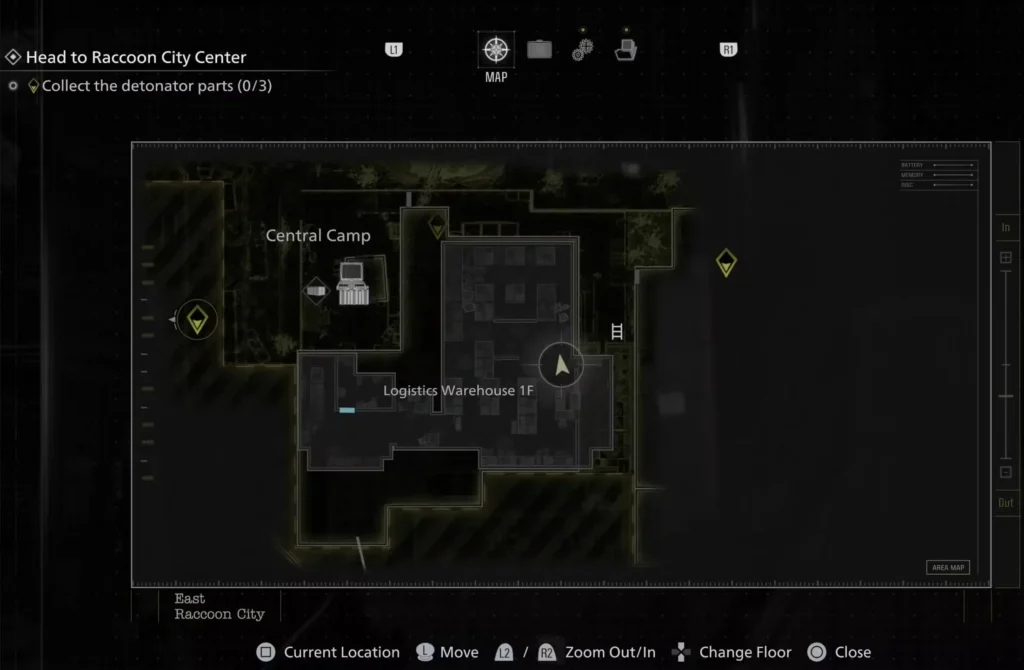
Head left from the gate to find the BSAA Central Camp. Interact with the generator outside the camp to restore power, which also unlocks the sliding garage door to the Logistics Warehouse. Inside the camp itself, you’ll find a note that updates your objective to retrieving the three detonator parts, and a Tactical Tracker that allows you to exchange points earned from killing zombies for weapon upgrades at the item box. Save the game here before heading out — it’s going to be a long one.
Detonator Part 1 — The Distributor (Logistics Warehouse Rooftop)
The Distributor is the first and most straightforward of the three parts, and the game naturally guides you toward it.
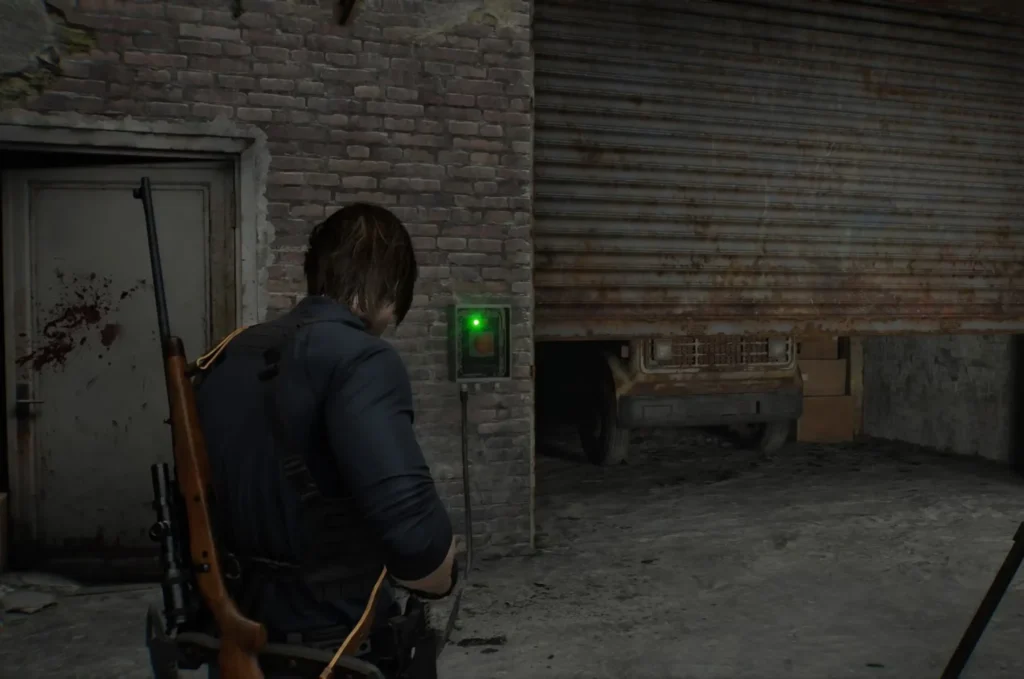
From the Central Camp, head behind it to find the garage door you unlocked with the generator. Press the button beside it to open it, then head inside the Logistics Warehouse. Work your way through the building, clearing out or avoiding the zombies as you go. On the second floor, open the partially shut garage door to access the next section. Keep navigating upward through the building until you reach the roof.
Once on the Logistics Warehouse rooftop, you’ll notice a powered-down gas generator — ignore it for now, as you don’t have fuel yet. Continue along the rooftop path past it and look for a yellow crate with a blinking red light nearby. Open it to find the Distributor, the first detonator part.
After picking it up, Leon uses his binoculars to scan the city and mark the locations of the remaining parts on the map. Use the elevator on the rooftop to descend back down to the BSAA Central Camp level. Save your game here again and prepare for the next leg of the journey — finding the Cedarbrook Apartments Key, which is actually already in your inventory from exploring the Logistics Warehouse during the climb up.
Before Part 2 — Getting to the Cedarbrook Apartments
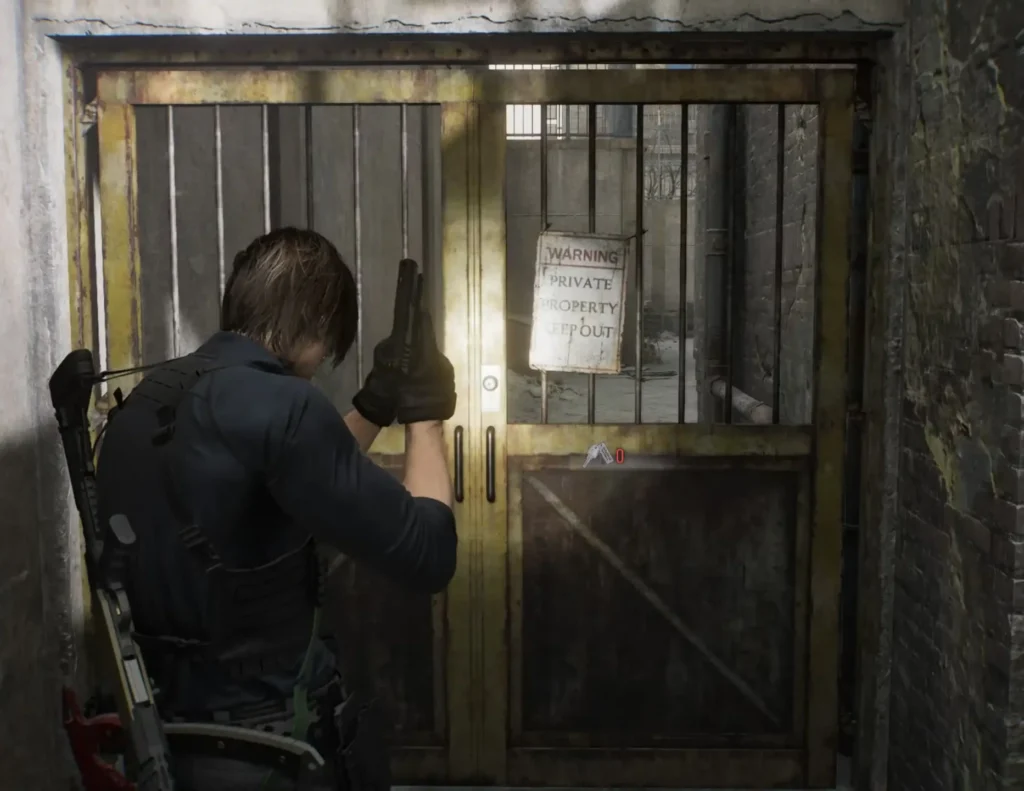
From the front side of the BSAA Central Camp, look for a passage through double doors heading east toward the Apartment Building Gate. Use the Cedarbrook Apartments Key (found during your Logistics Warehouse run) to unlock the yellow gate here.
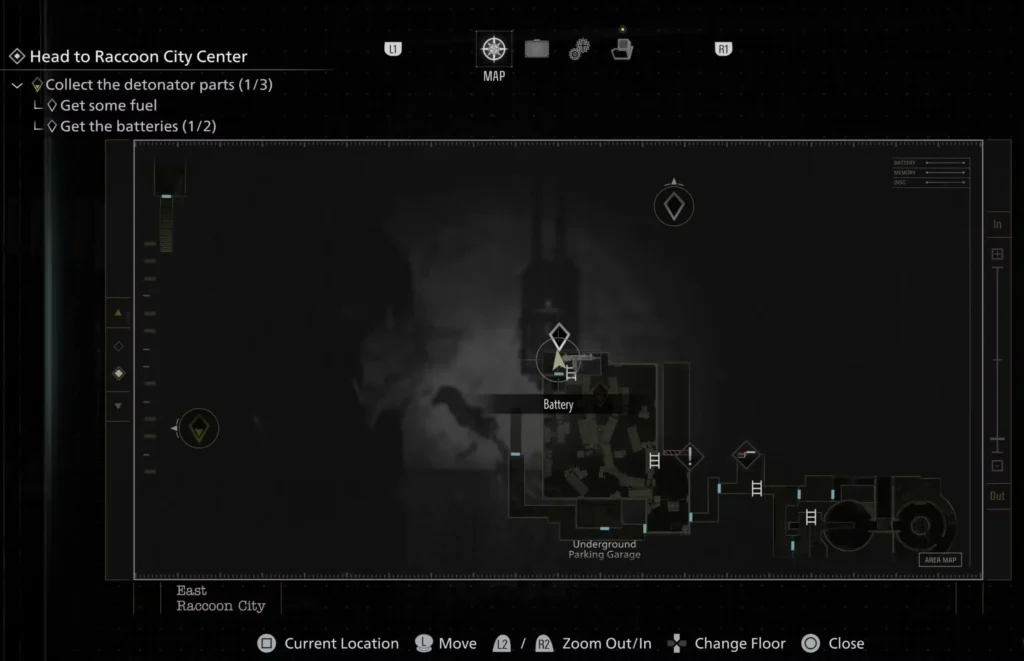
As you move through the area, keep an eye out for ladders bound with yellow tape — you can shoot the tape to bring them down and create new routes. Head down the stairs inside the building and continue until you reach the Underground Parking Garage below.
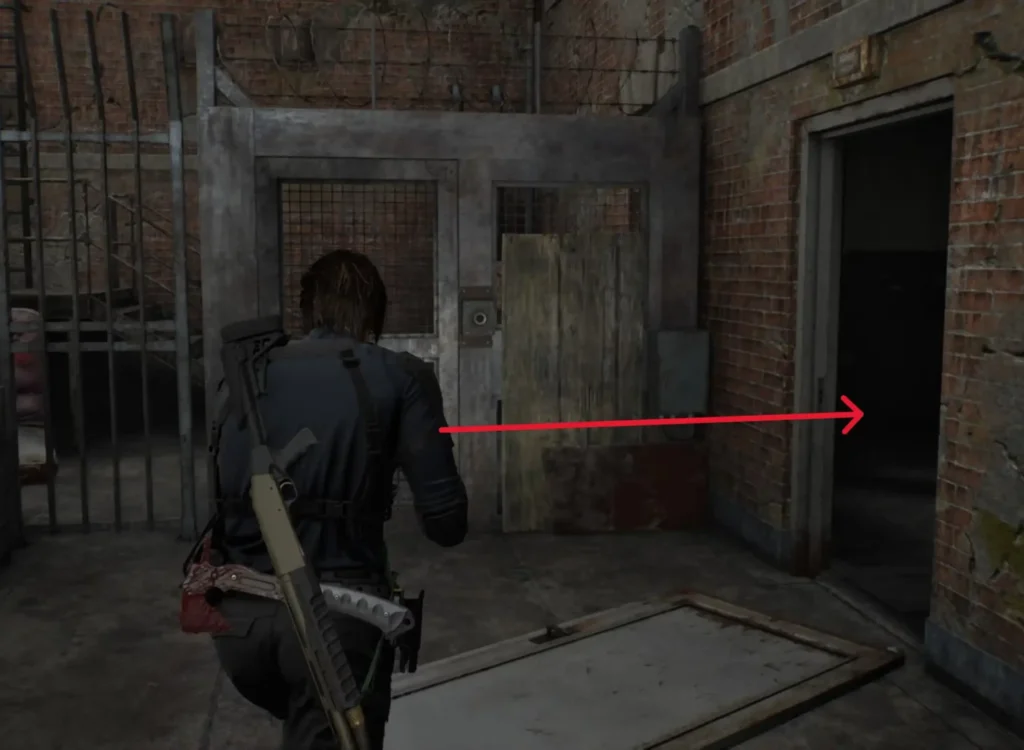
The Parking Garage is flooded and packed with zombies. Your goal here is to find two batteries to open the locked gate inside. Climb the ladder to the left of the gate and drop into the flooded area.
Navigate to the northwest room to collect the first Battery. For the second, head into the Sewage Facility through a lower ladder. Find the Valve Handwheel inside and place it on the nearby metallic gate, then fully rotate the valve while dealing with the enemies that spawn to unlock the path. Work your way to the room with the green light upstairs to collect the second Battery.
Return to the battery-powered gate and insert both batteries to open it. A cutscene plays, and afterward you receive the BSAA Container Key automatically. This key is critical — you need it to get the Repair Kit for the broken detonator part coming up next.
Getting the Repair Kit (BSAA Container at Central Camp)
Before heading up to the Cedarbrook Apartments rooftop, backtrack to the BSAA Central Camp and use the BSAA Container Key to open Container 02. Inside you’ll find a motorcycle and, most importantly, the Repair Kit.
This step trips up a lot of players because the “Search for a Repair Kit” objective isn’t marked on the map the same way other objectives are — it can feel vague. The answer is simply to return to camp and open that second BSAA Container. Don’t skip this. Without the Repair Kit, the Signal Receiver you’re about to find is broken and unusable, and you’ll end up with an incomplete detonator.
Detonator Part 2 — The Signal Receiver (Cedarbrook Apartments Rooftop)
With the Repair Kit in hand, head back to the Cedarbrook Apartments. Make your way upward through the building, navigating through the upper floors until you reach the rooftop. This section has mortar-launching zombies — move carefully through the area and navigate past them.
Continue along the rooftop path until you find a yellow box. Open it to collect the Broken Signal Receiver. As the name suggests, it’s damaged and can’t be used as-is. Open your inventory and use the Repair Kit on the Broken Signal Receiver to fix it, turning it into the functioning Signal Receiver.
You now have two of the three parts. The Distributor and the repaired Signal Receiver can be combined in your inventory to form a partial detonator, but you still need the third component before it’s operational.

Getting the Fuel (Gas Station)
The third detonator part — the Relay — is locked behind a zipline on the Logistics Warehouse rooftop that requires a powered generator. That generator needs fuel. Here’s how to get it.
From the Cedarbrook Apartments area, head north toward the Gas Station. Enter the building through the roof and make your way through to a locked gate at the rear. Behind the gate is a Gas Can. Be ready when you pick it up — grabbing it triggers a large wave of zombies that you’ll have to fight off or outrun.
Once the zombies are dealt with, go to the back of the Gas Station and turn the valve, then place the Gas Can on the fuel pump to fill it up and receive the Gas Can with Fuel. Now head back to the BSAA Central Camp and take the elevator back up to the Logistics Warehouse rooftop.
Pour the fuel into the now-accessible gas generator on the rooftop. This powers up an electric gate nearby — open it to access the zipline platform.
Detonator Part 3 — The Relay (Willis Tower)
Interact with the zipline twice to send Leon flying across the Raccoon City skyline toward Willis Tower. This is the longest and most intense leg of the detonator hunt, and the tower is full of zombies from top to bottom.
Upon landing, run around the area and find the staircase. Head up and begin working your way through the building. To progress through blocked doorways, shoot the yellow-taped wooden planks barricading the doors — this opens paths for you to walk or jump across the ruined interior.
Eventually you’ll reach an elevator shaft. Pull the doors open, jump inside, and follow the path forward. When you drop onto a section with glass-panel floors, move carefully — sprinting cracks the glass faster, and enemies underneath can break through and grab you. A useful trick here is to shoot the glass beneath zombies to send them falling, clearing the path without using extra ammo.
Continue navigating upward through the debris, broken ramps, and wrecked floors. Follow the yellow barricade trail whenever the path seems unclear — it will lead you in the right direction. Work all the way up to the rooftop.
At the top, you’ll find a metal gate on your right. Open it, and inside a yellow box is the Relay — the third and final detonator part.
Open your inventory and combine all three components: the Distributor, Signal Receiver, and Relay. This creates the fully functional Detonator.
Getting Back Down from Willis Tower
Collecting the Relay is only half the battle. Getting back to ground level from the top of Willis Tower is a gauntlet in itself. The descent is a relatively linear combat section, but it is heavily populated with zombies including Blisterheads and an armoured chainsaw enemy.
Follow the rooftop path to the Grimstone Building Rooftop next door. Your goal is to activate a construction elevator that will bring you back down to street level. Find the two wheel cranks, one on each side of the red elevator platform, and rotate both. Zombies will spawn aggressively as you work through this section — shotgun shells are your best friend here if you have them. Once both cranks are turned, ride the elevator down while fighting off the zombie waves that jump on during the descent.
After the elevator reaches the bottom, fight your way through one final dark section of the building before emerging back onto the main street near Central Camp.
Using the Detonator — Blowing Open the Gate
With the complete Detonator in your inventory, return to the explosive-rigged gate east of Central Camp where this whole objective began. Approach the gate and you’ll get a prompt to attach the Detonator to the explosives. Once attached, hold the button to detonate.
The gate blows open in a satisfying explosion, completing the East Raccoon City section of Resident Evil Requiem and triggering a cutscene that transitions Leon into the next major area of the game — the approach to Raccoon City Center, the RPD, and what follows.
Before you detonate, make absolutely sure you’ve picked up all collectibles in the East Raccoon City area — this is missable territory, and there’s no chapter select in RE9.
All 3 Detonator Parts at a Glance
Distributor — Logistics Warehouse Rooftop. Found in a yellow crate near a blinking red light. Accessed by powering the camp generator and working through the warehouse interior. No extra steps required.
Signal Receiver (Broken) — Cedarbrook Apartments Rooftop. Found in a yellow box after navigating through the apartments and past the mortar section. Must be repaired using the Repair Kit from the BSAA Container at Central Camp before it becomes usable.
Relay — Willis Tower Rooftop. Accessed via zipline from the Logistics Warehouse rooftop after filling the gas generator with fuel from the Gas Station. Found in a yellow crate at the top of the tower after navigating through floors, glass panels, and elevator shafts.
Tips for Getting Through East Raccoon City
East Raccoon City is Leon’s section, and unlike Grace’s experience in the Care Center, Leon has access to heavier firepower and supply boxes to manage his loadout. That said, ammo conservation still matters in this area.
Shoot yellow-taped ladders to bring them down and open new routes — the game places these throughout the area as shortcuts that reward exploration. Use the Tactical Tracker actively; the points you earn from kills convert into valuable weapon upgrades and supplies at the item box back at camp, and this area gives you plenty of opportunities to rack up points.
On the Willis Tower glass floor section, resist the temptation to use grenades or explosive rounds — the glass amplifies the chaos and you need solid footing. Shoot the floor beneath enemies to drop them rather than engaging directly.
Save your game at every opportunity. The Central Camp typewriter is your safety net, and the stretch from the Parking Garage to the Relay retrieval covers a lot of ground with no guaranteed save point in between.
More Resident Evil Requiem Guides
If you’re working through the Care Center sections with Grace before or after this part of the game, these guides will help you tackle every puzzle and locked room:
- How to Get a Gun When Playing as Grace
- VIP Suite Puzzle Guide – Hourglass & Double Helix
- RPD Scavenger Hunt Puzzle Solution
- Joint Plugs Basement Locations
- Basement Safe Code Guide
- Bar & Lounge Safe Code
- Examination Room Safe Code
- How to Complete the Corpse Puzzle – Examination Room
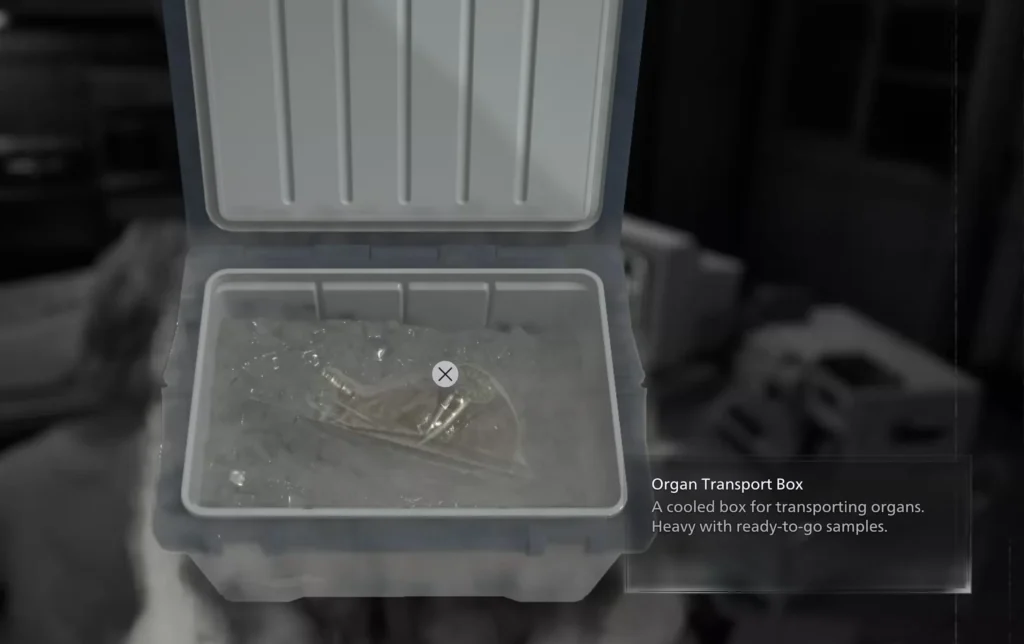
- How to Open the Organ Transport Box
- Chairman’s Office Puzzle Box Solution
- How to Open the Isolation Ward
- How to Open Level 3 Doors
- How to Open the Pantry
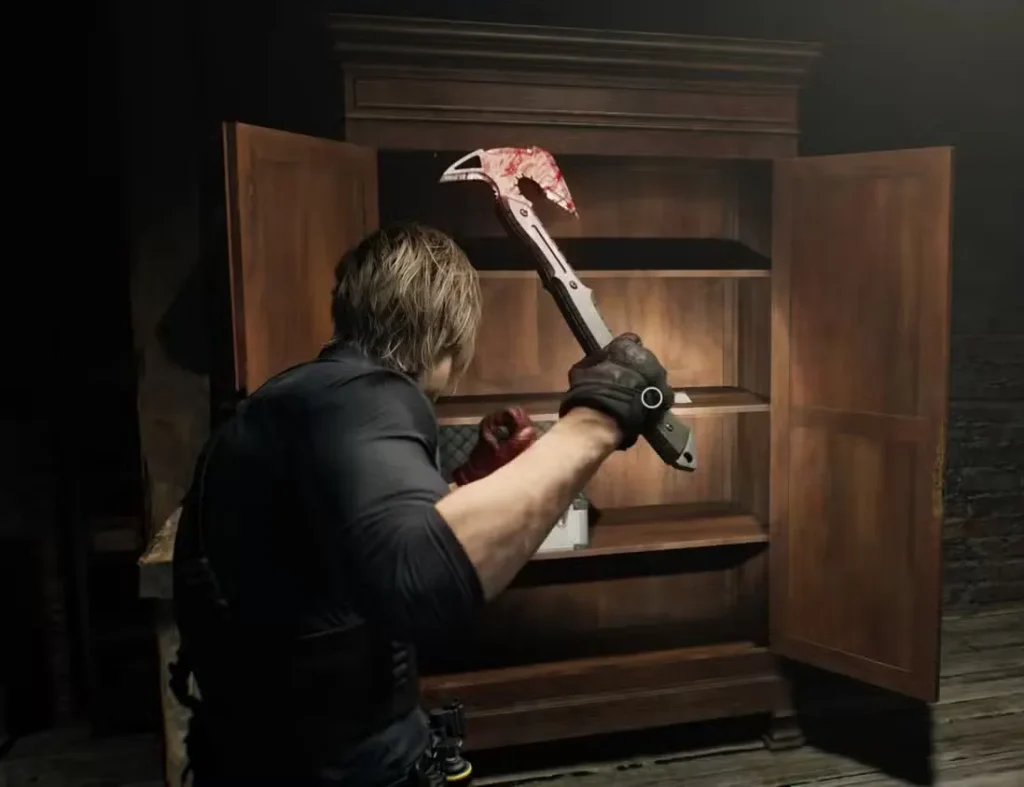
- How to Break Open Warped Closets
- How to Open the Door Without a Handwheel
- How to Destroy the Sturdy Padlock in the Researcher’s Office
- Level 1 ID Wristband Location
- East Wing Keycard Location
- West Wing Keycard Location
- Care Center Fuse Location
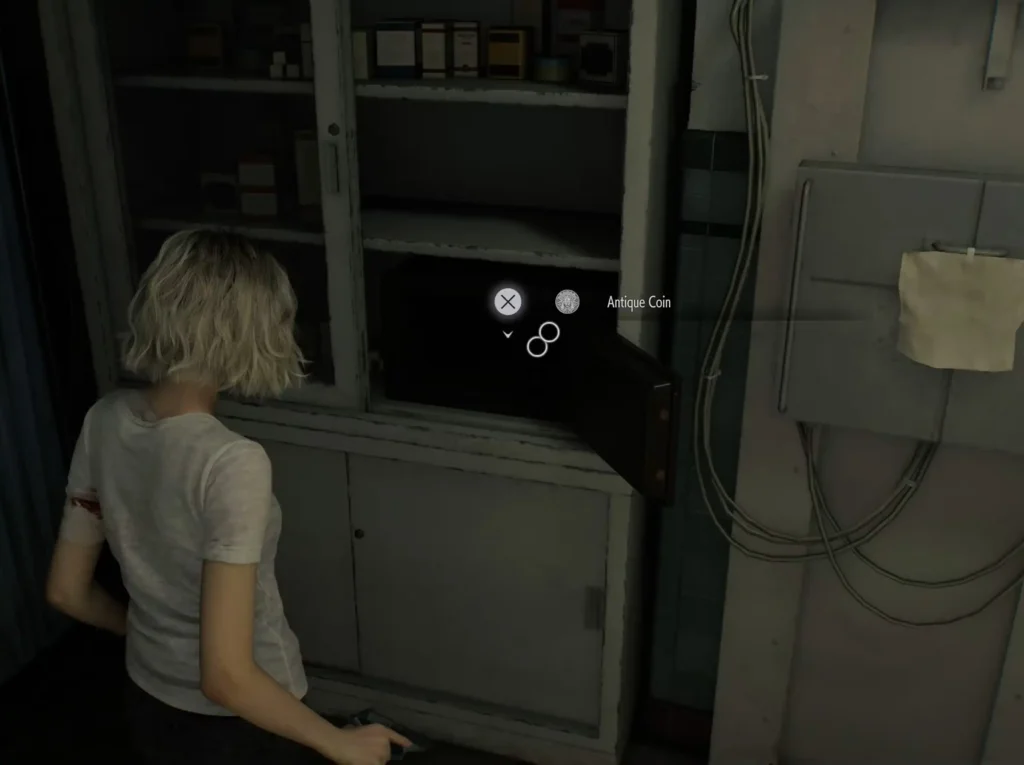
- Antique Coins – Care Center & Parlor Prizes
- How Long to Beat Resident Evil Requiem
- Resident Evil Requiem PC Requirements
Get Resident Evil Requiem
Resident Evil Requiem is available now across all major platforms:
Playing on PC? Check our Resident Evil Requiem PC Requirements guide to make sure your rig is ready. Want to know how long the full game takes to complete? Our How Long to Beat guide breaks it all down.