An Unholy Prophecy is one of those Fragment Chapter Quests that really tests your full skill set in Where Winds Meet. Located in Kaifeng’s Jadewood Court district, this quest throws everything at you—platforming challenges, brain-teasing puzzles, deadly traps, and a climactic boss fight that demands both patience and strategy.
If you’re looking to uncover the secrets hidden beneath the Martial Temple and face off against the formidable Shi Zhen, this guide has you covered. Let’s break down every step of the An Unholy Prophecy quest so you can complete it smoothly.
How to Start An Unholy Prophecy Quest in Where Winds Meet
Getting this quest started is straightforward, but preparation is key.
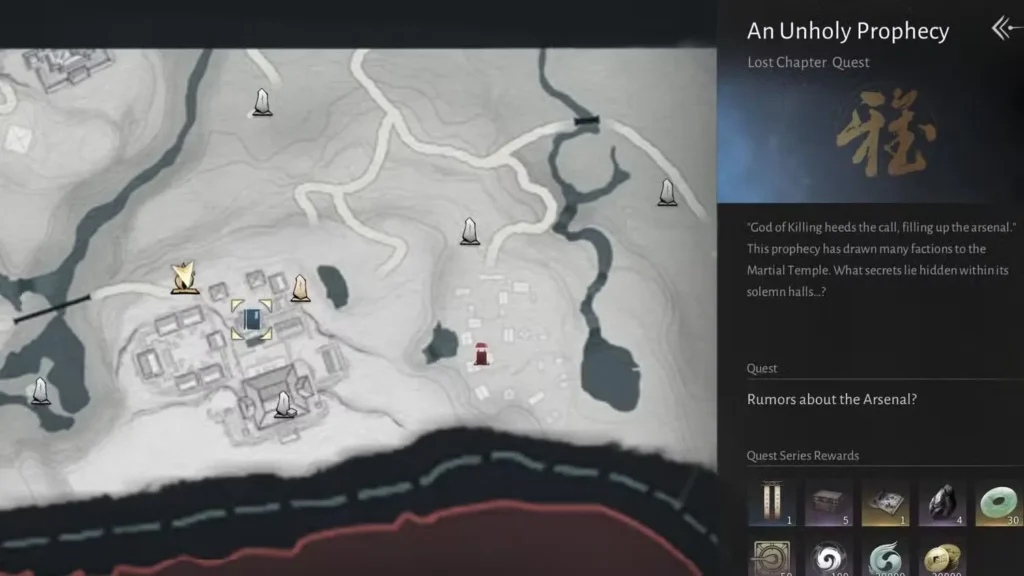
Head to Kaifeng and navigate to the Jadewood Court area. Once you’re there, locate the Martial Temple—you can’t miss it. Inside, you’ll find the Mysterious Painter standing around. Talk to him, and the An Unholy Prophecy quest kicks off automatically with a brief conversation.
Essential Items Before Starting
Before you dive deeper, make absolutely sure you have these two things:
- Meridian Touch Mystic Skill – You’ll need this mystic skill to solve several puzzles throughout the quest
- Fire Arrows – These are critical for lighting lamps and progressing past certain obstacles
If you’re missing fire arrows, scout around the temple for a nearby quiver, or check your crafting recipes and whip up a batch. Trust me, running out mid-quest is not fun. You can also check out our cooking and crafting guide for more preparation tips.
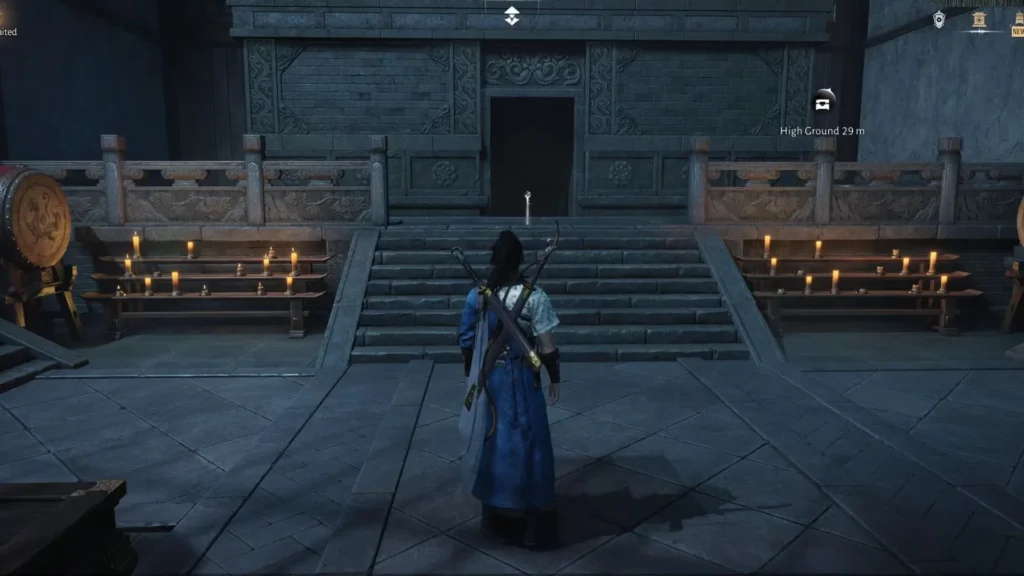
Once you’re geared up, follow the quest marker outside toward the temple rooftops, then head up to the high ground and enter the Martial Hall.
How to Search for the Traces of God of Killing
Inside the Martial Hall, your objective marker will guide you to the Mysterious Painter again. Have another chat with him, and then comes your first puzzle challenge.
Lighting the Lamps Puzzle
You need to shoot the hanging lamps with fire arrows. This isn’t just for show—lighting these lamps triggers hidden corridors to open and sets up the jade bell and knocker puzzles you’ll encounter later. As a bonus, completing this step unlocks a new emote called An Unholy Prophecy, which you’ll need shortly.
Using the An Unholy Prophecy Emote
The Mysterious Painter drops a cryptic hint: the prophecy’s true meaning involves standing in the God of Killing’s place and mimicking his pose. Sounds dramatic, right?
Walk over to the marked platform next to the painter. Open your Puzzle emotes tab and use the An Unholy Prophecy emote while standing on that platform. Nail this, and a mechanical platform descends, granting you access to the underground depths of the temple.
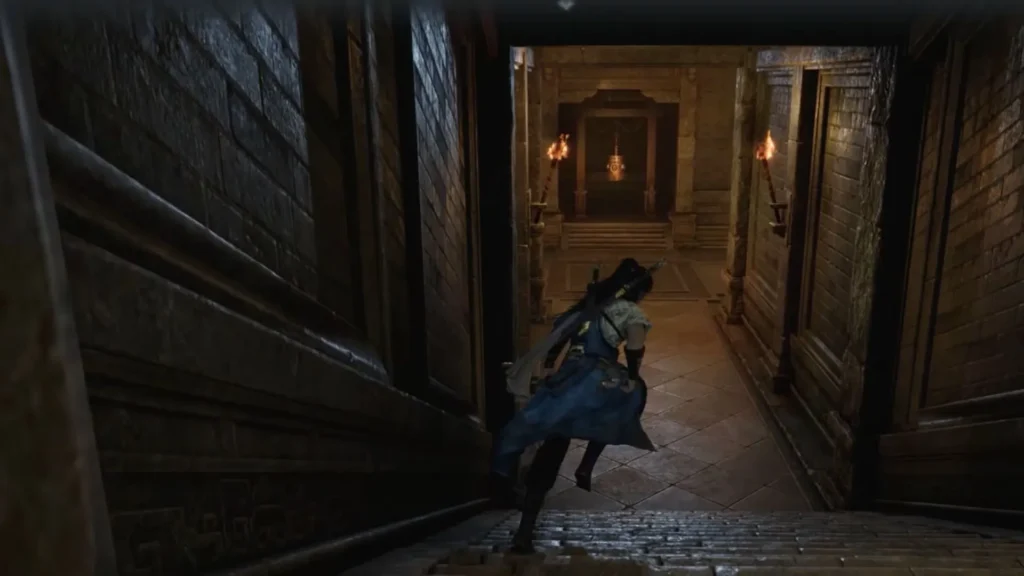
Exploring the Underground Passage
Once you descend, you’re officially in the danger zone. The underground passage is filled with enemies and intricate puzzles.
Bell and Knocker Puzzle
Head into the passage across from the barred gate and follow the pathway until you encounter guards. Take them down, then approach the door guarded by a jade bell and knocker.
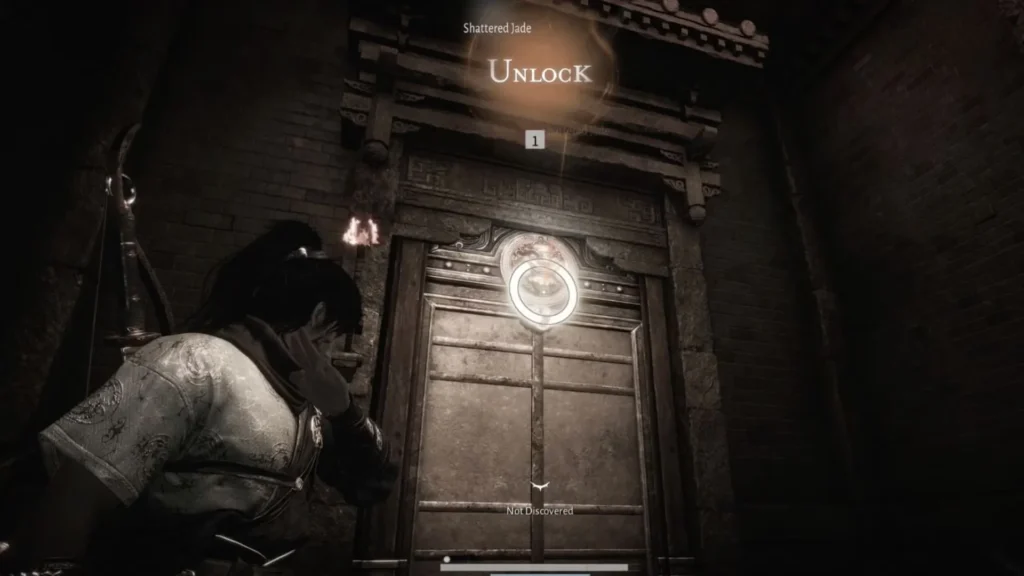
Here’s the solution: Strike the bell first, then immediately use Meridian Touch on the door knocker. Timing matters here, so be quick with that second input.
The door swings open into a massive hall filled with suits of armor and weapon displays. This is the Grand Arsenal Hall, and it leads to the Secret Edict Chamber. As you explore, you’ll face three enemies—dispatch them and examine the armor displays.
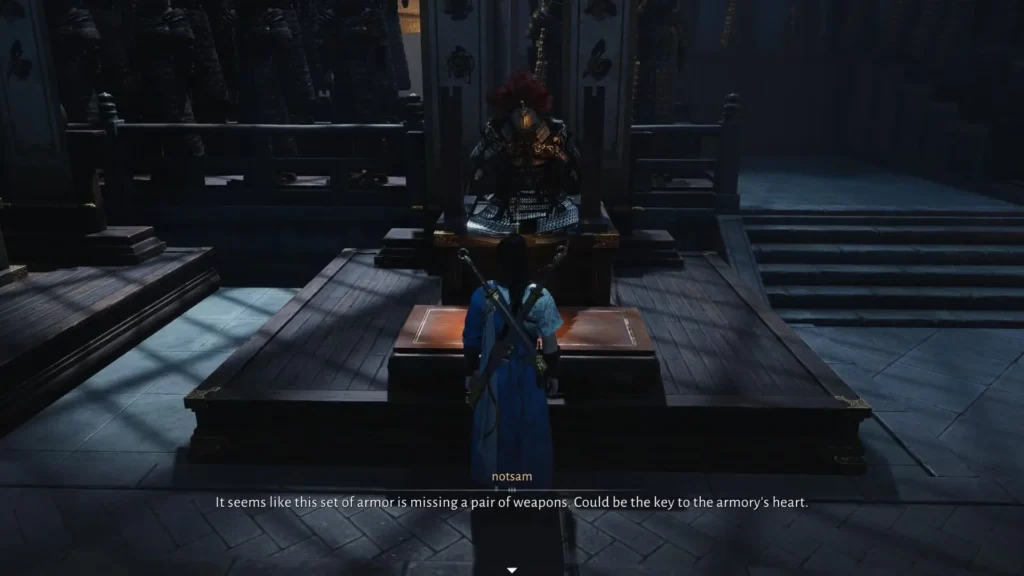
You’ll notice two displays are missing weapons: one long weapon and one short weapon. Your job? Retrieve both by exploring the hall’s left and right wings. For similar puzzle-solving tips, check out our Qinghe Meow Meow puzzle locations guide.
Finding the Long Weapon in the Left Wing
The left wing is all about timing and patience. Here’s how to navigate it safely.
Navigating the Spike Trap Corridor
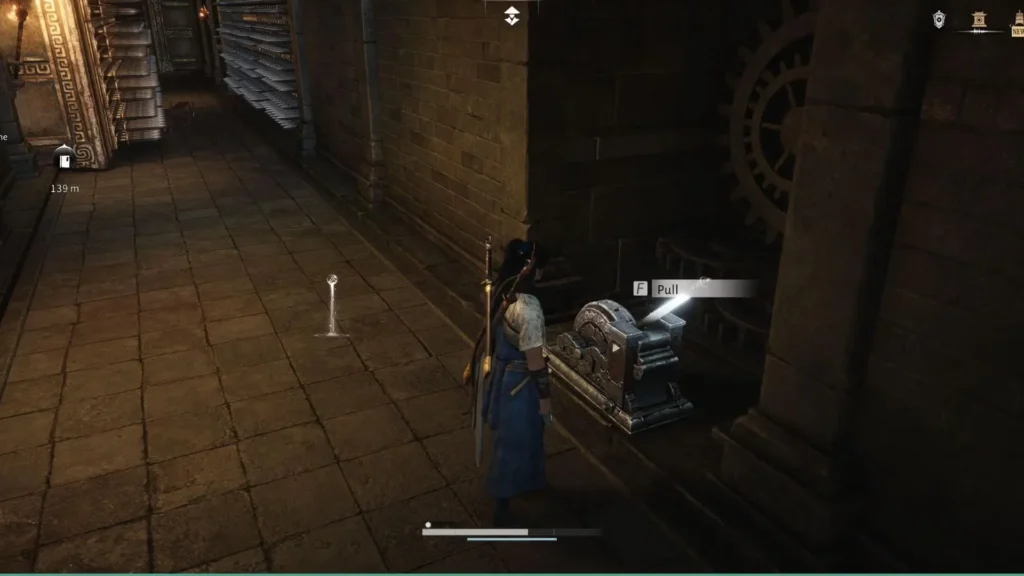
Take the stairs down near the left wing entrance. You’ll enter a corridor lined with wall-mounted spike traps that extend and retract rhythmically. Watch the pattern carefully and dash forward only when a spike begins to withdraw.
Getting hit drains your health and can force you to restart sections, so take it slow. At the end of this gauntlet, you’ll find a lever. Pull it, and mercenary guards will start chasing you. Here’s a pro tip: you can pull the lever again to reactivate the spikes and eliminate the guards without breaking a sweat.
Bell and Knocker Puzzle (Again)
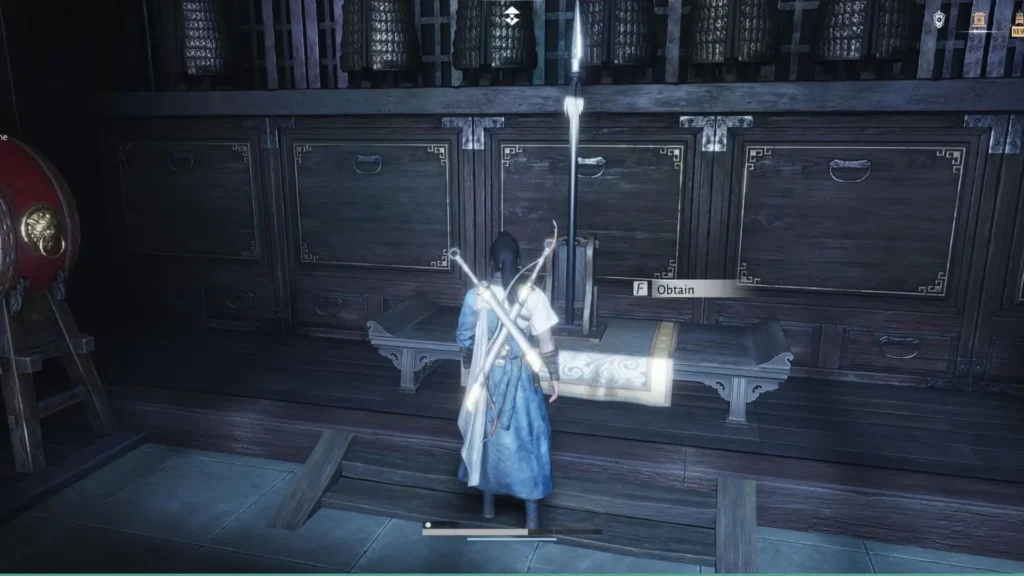
Continue forward until you hit another bell-and-knocker puzzle. Same drill: ring the bell, then quickly use Meridian Touch on the knocker. Keep moving until you reach a chamber guarded by a lone enemy. Defeat him and grab the spear.
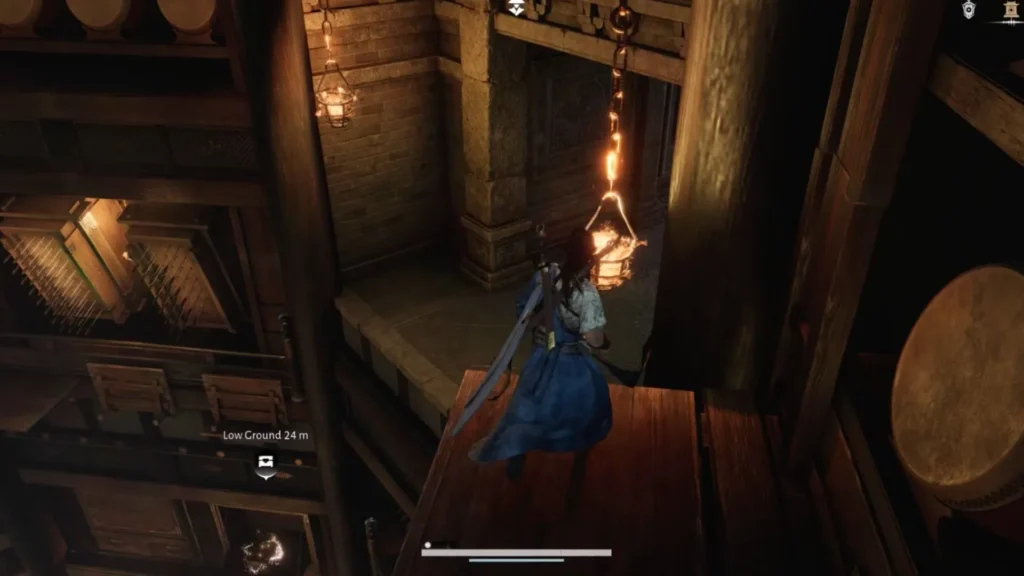
Circular Chamber Navigation
Exit through the gate and walk until you reach a circular chamber. Look up—you’ll need to jump between platforms in this chamber to make your way back to the Grand Arsenal Hall. Before you leave, explore thoroughly to find a hidden chest with valuable loot.
Additional Spike Traps and Weapons
Back in the grand hall, you’ll spot another spear called Rampage displayed in the center. Behind it, you’ll face another set of horizontal spike traps coming from the right wall. Walk through when they’re retracted and slip through the opening.
You’ll encounter more spike traps from both sides—observe the pattern and dash forward when safe. At the end, pull another lever and complete yet another bell-and-knocker puzzle.
In the next room, collect the Silver Spear of Discipline. On your way out, you’ll run into more enemies. Clear them, return to the Grand Arsenal Hall, and interact with the armor missing its long weapon. Choose Long Weapon Returned to place the weapon back.
If you’re struggling with combat, our best weapon combinations guide can help you optimize your loadout.
Finding the Short Weapon in the Right Wing
The right wing mirrors the left wing’s structure but introduces ceiling-mounted falling spikes to keep things interesting.
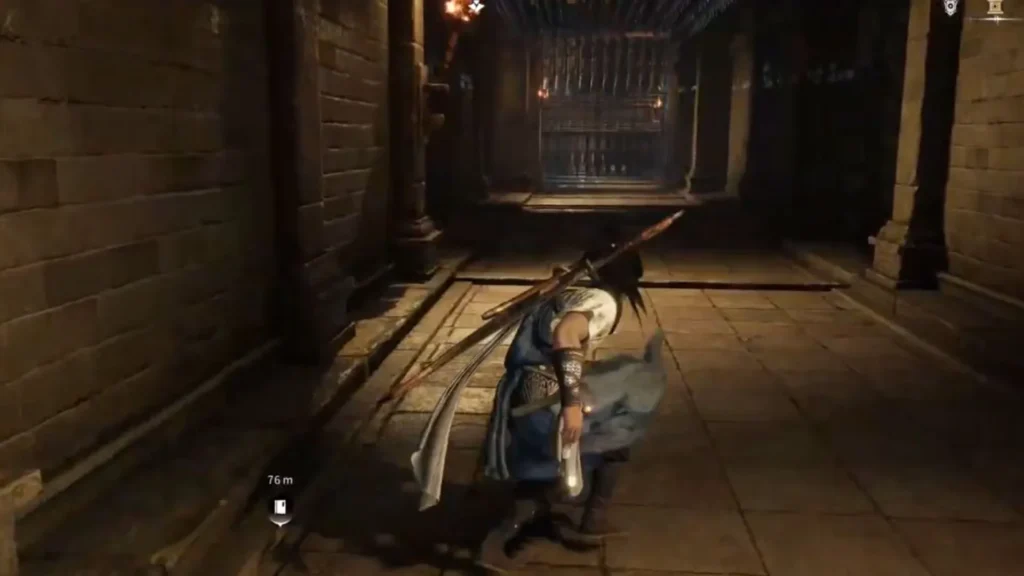
Navigating Falling Spike Traps
The first set is manageable, but the second set of falling spikes requires real patience. Crouch and carefully time your movements so you only advance when it’s completely safe. Pull the lever to progress deeper and complete the next bell-and-knocker puzzle.
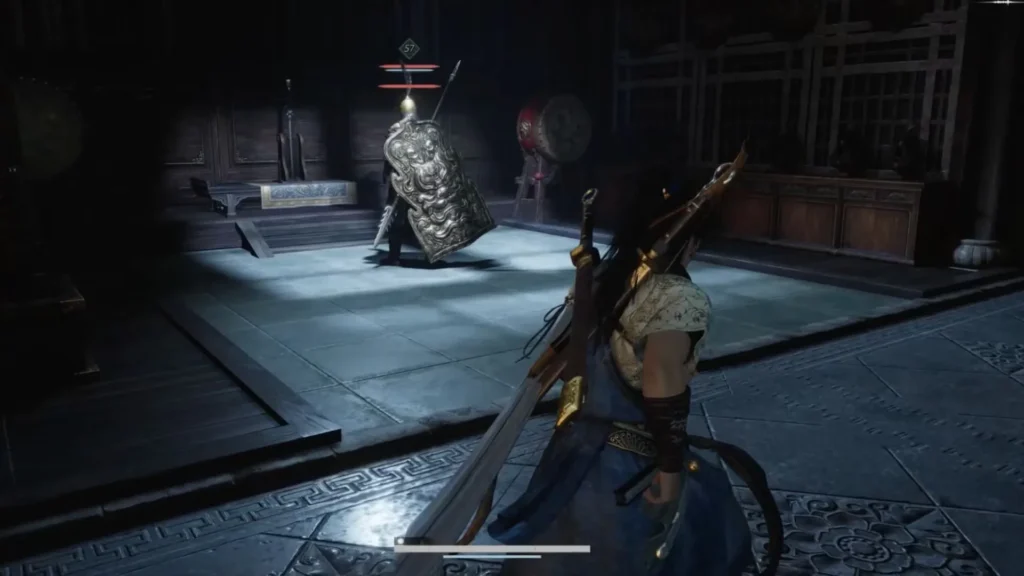
Defeating the Shielded Guard
The room holding the short weapon features a heavily defended guard with a shield. These enemies can be tough to crack with standard attacks.
If you’re having trouble, use the Tai Chi mystic skill to break his guard and create an opening for a clean assassination. It’s one of the more reliable ways to handle shielded opponents without taking unnecessary damage. For more combat strategies, see our tips and tricks for beginners.
After defeating him, collect the weapon and enter a circular chamber containing a spiked pit. Jump carefully across the platforms to reach the other side. In the following hall, you’ll find the Triumph Sword on display.
Final Corridor and Weapon Collection
From here, you’ll navigate another corridor with downward-falling spikes. Dash through them, activate the lever at the end, and complete another bell-and-knocker puzzle. This opens the door to a hall where the Blackcloud Long Sword is displayed.
Clear out the guards in the hallway and finish the corridor sequence. Return to the Grand Arsenal Hall one last time, interact with the armor, and choose Short Weapon Returned.
Entering the Hidden Door and Exploring Deeper
With both weapons returned to their rightful displays, a short cutscene triggers. The restored armor activates a hidden mechanism, and a secret doorway slowly opens.
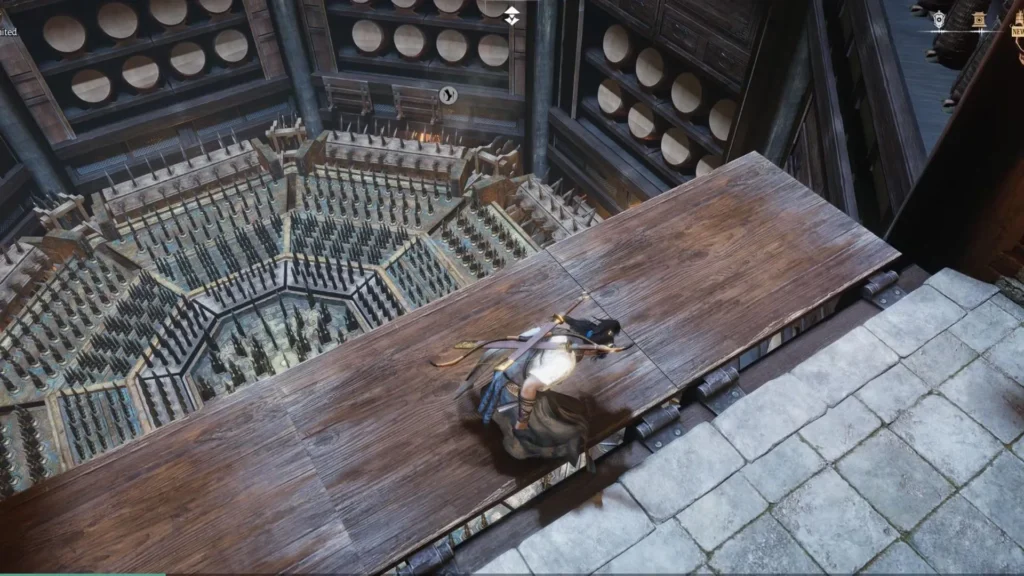
Rising Spike Floor Chamber
This next section is pure adrenaline. You’ll enter a circular chamber with a trap mechanic that raises the floor of spikes. There’s no room for hesitation here—sprint and jump quickly without pausing on the platforms. Hesitate even slightly, and you’ll take damage or worse.
Once you clear this death trap, you’ll find a chest in the next chamber. Open it to grab your rewards and prepare yourself mentally for what’s coming next: the final boss fight with Shi Zhen.
How to Defeat Shi Zhen Boss Fight
Shi Zhen is the climax of the An Unholy Prophecy quest, and this fight can feel overwhelming if you don’t approach it strategically.

The Challenge: Shi Zhen and His Guards
Shi Zhen doesn’t fight fair—he enters the final chamber with four guards backing him up. Rushing directly at Shi Zhen is a recipe for disaster. His guards can stun-lock you or hit you from behind, making it nearly impossible to dodge his heavy attacks.
Winning Strategy
Focus on eliminating the minions first. Take them out one by one before even thinking about engaging Shi Zhen directly. Once the battlefield is clear, you can concentrate fully on the boss without distractions.
Shi Zhen hits hard, so patience is crucial. Dodge his heavy strikes, watch for openings, and counter when you see a chance. Whittle his health down methodically until he falls. For more boss fight strategies, check our Elder Gongsun boss guide and Qianye boss guide.
Quest Completion
After defeating Shi Zhen, a cutscene plays and you can claim the rewards from the chest. Follow the quest marker out of the underground area—the Mysterious Painter will be waiting for you on the surface. Speak with him one final time to officially complete the An Unholy Prophecy quest.
An Unholy Prophecy Quest Rewards
Completing this quest rewards you with valuable loot, experience points, and progression toward leveling up fast in Where Winds Meet. The weapons you collect along the way can also be useful additions to your arsenal, especially if you’re still building out your early game weapon combos.
Frequently Asked Questions (FAQs)
What level should I be before attempting An Unholy Prophecy quest?
While there’s no strict level requirement, it’s recommended to have decent combat skills and gear score before attempting this quest. The spike traps and boss fight can be punishing if you’re undergeared. Make sure you’ve unlocked Meridian Touch and have a solid understanding of combat mechanics.
Can I complete An Unholy Prophecy quest without fire arrows?
No, fire arrows are essential for the lamp-lighting puzzle early in the quest. Without them, you cannot progress past the initial stages in the Martial Hall. If you’re missing fire arrows, search the temple area for quivers or craft them before starting the quest.
What’s the best strategy for the spike trap sections?
Patience and observation are key. Watch the spike patterns carefully before moving, and don’t rush. For wall-mounted spikes, dash forward as they retract. For ceiling-falling spikes, crouch and move only when it’s completely safe. If you’re low on health, consider using healing items before entering trap corridors.
Is the Tai Chi mystic skill necessary for defeating the shielded guard?
While not strictly necessary, Tai Chi makes the fight significantly easier by breaking the guard’s defense. If you don’t have Tai Chi, you can still defeat shielded enemies with well-timed heavy attacks or by attacking from behind, but it will take longer and require more careful positioning.
An Unholy Prophecy Quest
The An Unholy Prophecy quest in Where Winds Meet is a fantastic test of your overall skills—combat, platforming, and puzzle-solving all come together in one intense questline. The spike traps demand precision, the puzzles require attention to detail, and Shi Zhen’s boss fight will push your combat abilities to the limit.
If you’re playing on PlayStation, the controls might take some getting used to, especially during the precision platforming sections, but with practice, you’ll master the timing.
Whether you’re hunting for world boss locations, exploring dungeon locations, or simply trying to complete all trophies and achievements, mastering quests like An Unholy Prophecy is essential for progressing through Where Winds Meet’s rich world. Good luck, and may your journey through Kaifeng be a successful one!