TL;DR – GTA 6 Prologue Walkthrough
- First mission: The GTA 6 Prologue begins with Lucia Caminos inside Hamlet Correctional Facility. It starts automatically when you begin a new game.
- Crossword answer: Choose Venus when Lucia’s cellmate asks for the planet of love.
- Prison objective: Talk to your cellmates, then follow prison guard CO Wilson to Counselor Stefanie Gates.
- Robbery: During the flashback, threaten the payday loan store teller, collect the money, and fight off the customer who grabs Lucia.
- Police chase: You cannot permanently escape or prevent Lucia’s arrest. The sequence is scripted, so follow the objectives until the Prologue ends.
The GTA 6 Prologue is the first story mission in Grand Theft Auto VI. You play as Lucia Caminos inside Hamlet Correctional Facility, speak with her fellow inmates, and follow a guard to a meeting with a prison counselor. A flashback then takes you through a robbery and police chase that explains how Lucia ended up behind bars.
The mission is straightforward, but a few moments can confuse new players. The crossword puzzle has a specific answer, the robbery introduces unfamiliar interaction controls, and the police chase is designed to end with Lucia getting caught.
This GTA 6 Prologue walkthrough explains every objective, the correct buttons for PS5 and Xbox Series X|S, and what happens when the mission ends. It also covers the common mistakes that can make this short introduction take longer than necessary.
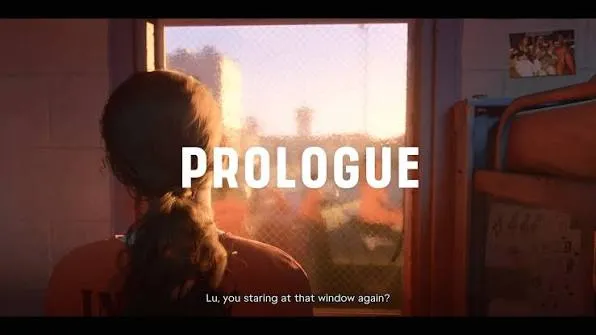
GTA 6 Prologue: Mission Details and Objectives
Before starting the walkthrough, here is everything you need to know about the opening mission.
| Mission Details | Information |
|---|---|
| Mission Name | Prologue |
| Story Order | Mission 1 |
| Chapter | Opening Prologue, before Chapter 1: Just Like Paradise |
| Playable Character | Lucia Caminos |
| Starting Location | Hamlet Correctional Facility, Leonida |
| Requirements | None; starts automatically |
| Estimated Duration | Approximately 10–15 minutes |
| Mission Reward | Story progression; no cash reward |
| Next Mission | Gone Fishing |
The Prologue is a mandatory story mission and counts toward the game’s story completion requirements. You cannot skip directly into free roam when starting a new game.
All GTA 6 Prologue Objectives
- Talk to your cellmates.
- Follow the prison guard.
- Meet the counselor.
- Threaten the teller and grab the cash.
- Fight off the customer.
- Lose the cops.
- Return to the coffee shop if that objective appears.
Most of these objectives are short tutorials. The mission also includes several cutscenes that establish Lucia’s background and her connection to Jason.
GTA 6 Prologue Walkthrough: Step-by-Step Guide
Step 1: Talk to Your Cellmates
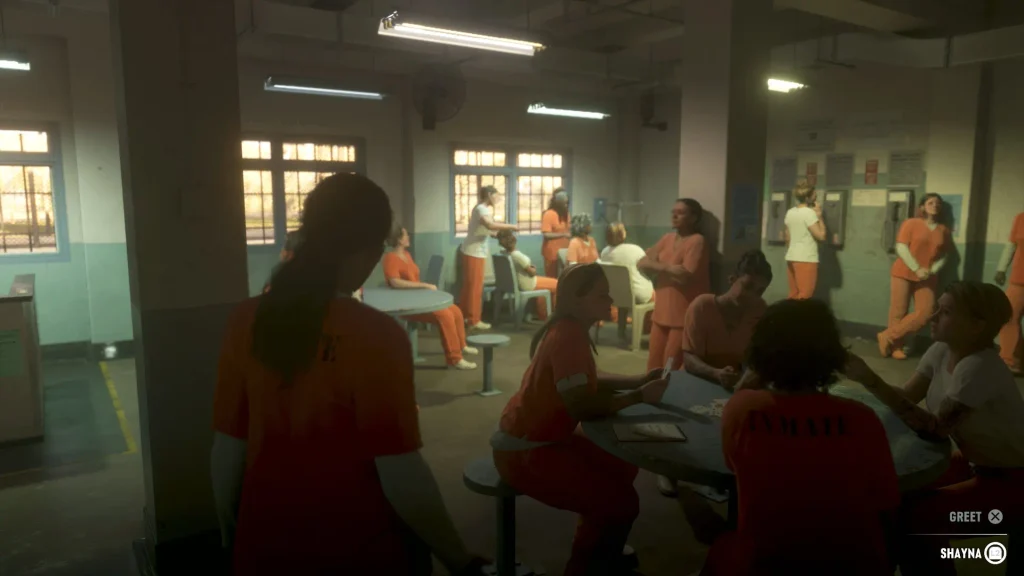
After the opening cutscenes, you gain control of Lucia inside a prison cell at Hamlet Correctional Facility.
She starts near a window overlooking the prison grounds.
Turn around and approach the other inmates. This is your first introduction to GTA 6’s character interaction system.
- Move away from the window.
- Approach a nearby cellmate.
- Hold L2 on PS5 or LT on Xbox to focus on the character.
- Use the interaction prompt to begin a conversation.
- Speak to the inmate sitting at the table with a crossword puzzle.
On the default controls, X on PS5 or A on Xbox can be used to select the displayed conversation prompt.
You can also interact with another inmate resting near the bunk beds.
Beginner tip: GTA 6 uses contextual interactions. The available actions change depending on the person or object you are targeting. Keep an eye on the prompts in the lower-right corner.
Step 2: Solve the GTA 6 Prologue Crossword Puzzle
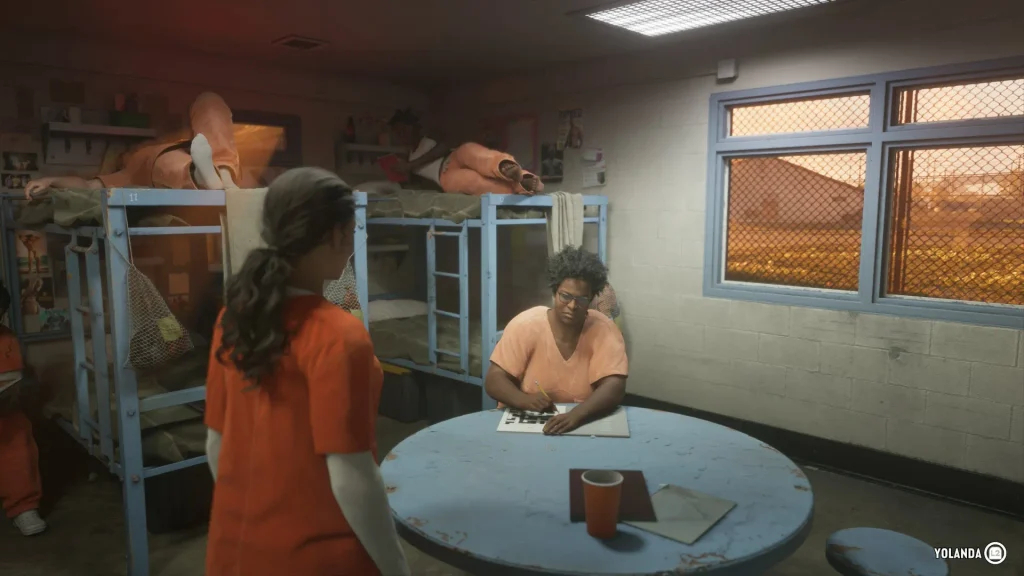
One of Lucia’s cellmates, Yolanda, is working on a crossword puzzle.
When you approach her, she asks for help answering a clue.
The clue concerns the planet of love.
Correct answer: Venus.
To answer:
- Approach Yolanda at the table.
- Hold L2 or LT to focus on her.
- Select the conversation option.
- Choose Venus when the answers appear.
On the PlayStation control layout shown in launch walkthroughs, Venus is selected using Triangle.
The crossword is a small optional interaction, not a complicated puzzle. There is no need to search for clues elsewhere in the prison.
Does the crossword answer change the story? No meaningful long-term consequence has been confirmed for this choice. Selecting Venus gives the correct response and lets you continue normally.
Step 3: Follow the Prison Guard
After the opening interactions, prison guard CO Wilson arrives to escort Lucia.
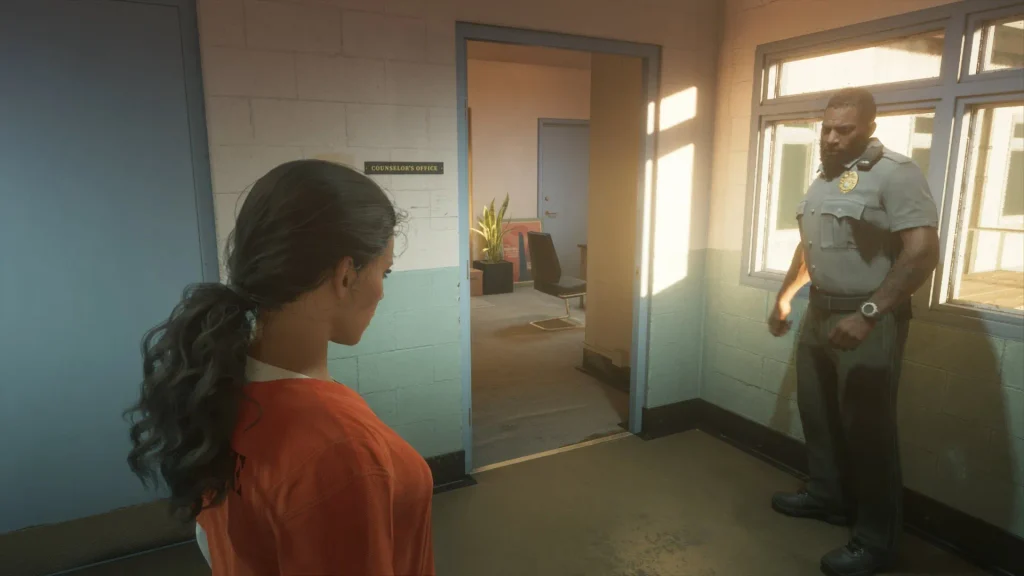
Your objective changes to Go with the prison guard.
- Approach the guard near the cell entrance.
- Follow him into the common area.
- Wait while he makes a phone call.
- Continue following him when he starts moving again.
- Pass through the marked corridor.
- Enter the counselor’s office.
There is no need to run ahead or look for another route.
The guard temporarily stops in the common area. This is normal and does not mean the mission has become stuck.
While waiting, you can interact with nearby inmates. Some conversations offer choices such as Greet, Provoke, or Defuse.
These interactions introduce the dialogue system you will encounter throughout Leonida.
Tip: If you lose track of the guard, check the mission objective and look toward the security doors. He follows a scripted route, so stay nearby until he continues.
Step 4: Meet Counselor Stefanie Gates
Lucia enters an office and meets Counselor Stefanie Gates.
Gates discusses Lucia’s imprisonment and the possibility of supervised early release.
The conversation also introduces the restrictions that would apply if Lucia were allowed to leave prison.
You do not need to complete a puzzle or pass a dialogue test here.
The conversation automatically leads into a flashback showing the events behind Lucia’s arrest.
Important: The playable robbery that follows takes place before the prison scenes. It is a flashback, not an escape mission happening in the present.
GTA 6 Prologue Robbery: Threaten the Teller and Grab the Cash
The flashback places Lucia inside a payday loan and check-cashing store.
She is holding a pistol and attempting to rob the business.
This section teaches you the basic aiming, threatening, and cash collection mechanics used in later robberies.
Step 5: Threaten the Teller
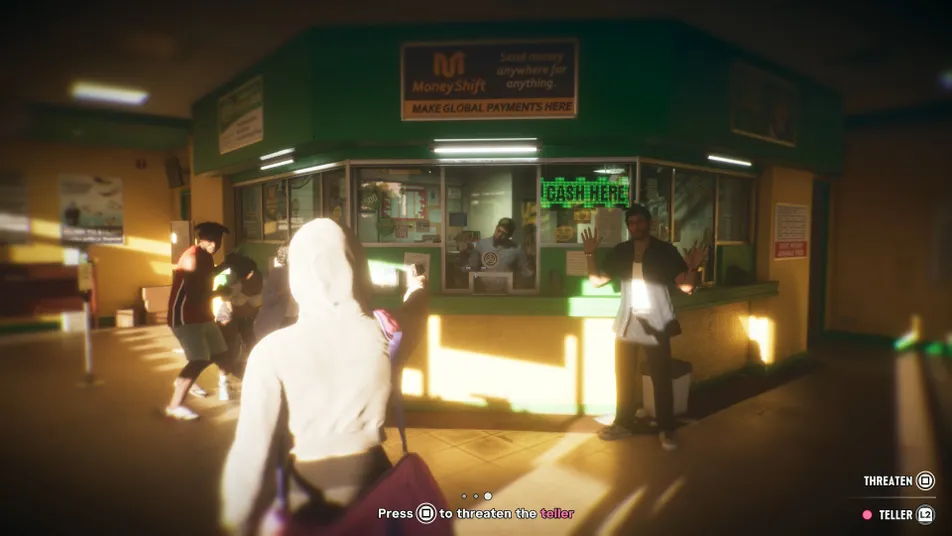
- Move toward the counter.
- Hold L2 on PS5 or LT on Xbox to aim your weapon.
- Use the right analog stick to point the weapon at the teller.
- Wait for the Threaten prompt to appear.
- Press Square on PS5 or X on Xbox to threaten the teller.
- Keep your attention on the teller until he starts handing over the cash.
Make sure you are targeting the employee behind the counter rather than a nearby customer.
The interaction prompt changes depending on whom Lucia is aiming at.
Common mistake: Pressing the threaten button before properly aiming at the teller may do nothing. Keep the weapon trained on the correct person until the prompt appears.
Step 6: Grab the Cash
Once the teller gives in, he places bundles of money on the counter.
Move close enough to the collection point.
Press Triangle on PS5 or Y on Xbox when the Grab Cash prompt appears.
Collect the available bundles until the robbery advances.
You do not need to find a safe code or search the back rooms. The opening robbery is designed to teach basic interactions rather than let you freely explore the business.
Step 7: Fight Off the Customer
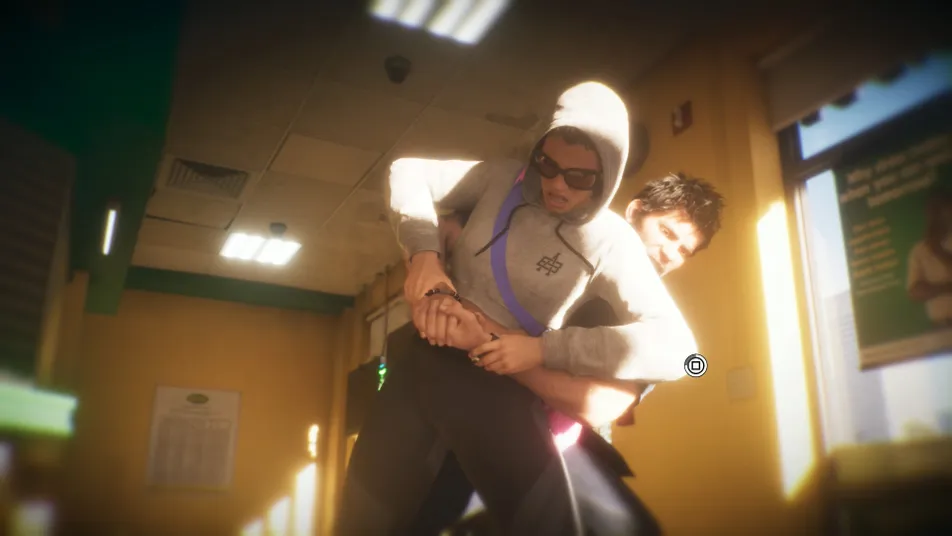
As Lucia tries to leave, a customer grabs her from behind.
This begins a quick-time event.
Follow the button prompts displayed on the screen and press the required button repeatedly to break free.
Once Lucia escapes the customer’s grip, the situation escalates into a police pursuit.
Tip: Watch the on-screen struggle prompt instead of continuing to aim or move. The game temporarily changes the controls for this scripted encounter.
How to Lose the Cops in the GTA 6 Prologue
After the robbery, Lucia runs from the police.
The objective tells you to Lose the cops, and the minimap displays a flashing red-and-blue search area.
This is where many beginners get confused.
You cannot permanently escape the police during the GTA 6 Prologue. The pursuit is scripted to end with Lucia being arrested.
Your goal is to follow the sequence, learn the movement controls, and continue until the next cutscene or objective appears.
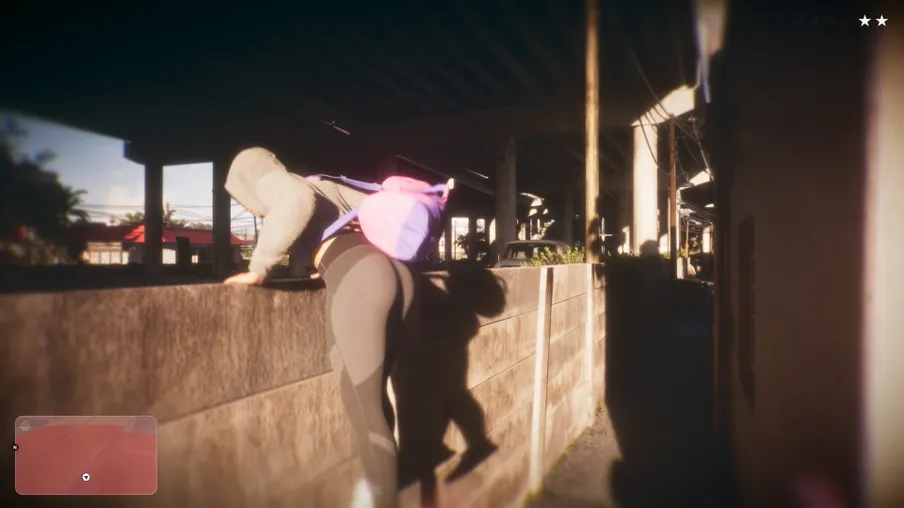
Step 8: Run From the Police
- Leave the robbery location.
- Follow the available escape route.
- Use the displayed jump and climb prompts to cross obstacles.
- Move through the streets and nearby rooftops.
- Watch the police search area on the minimap.
- Continue until the sequence advances.
Some walkthroughs describe a route through nearby rooftops and a mechanic’s building.
You can attempt to avoid the officers, but you cannot change the eventual outcome.
If the police catch Lucia during the pursuit, the game can move directly to the next cutscene.
If you evade them for longer, you may receive another objective.
Step 9: Return to the Coffee Shop
Depending on how the chase progresses, you may regain control of Lucia with the objective to return to the coffee shop.
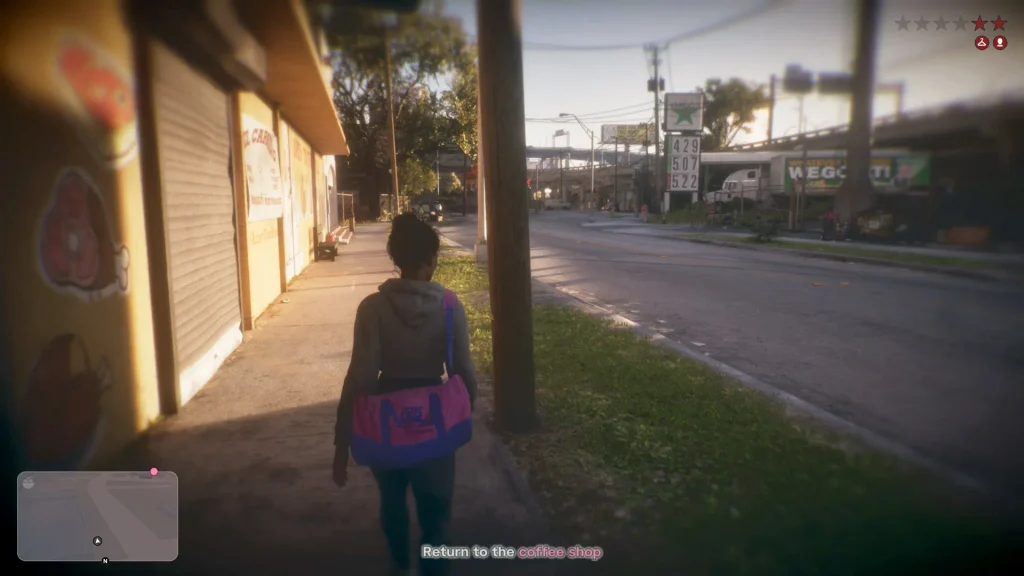
The destination appears as a marker on the minimap and compass.
- Locate the marked coffee shop.
- Move toward it using the minimap.
- Avoid unnecessary confrontations with nearby officers.
- Continue toward the objective until the final sequence triggers.
At this point, Lucia is eventually apprehended.
There is no hidden escape route, vehicle trick, or alternate button combination that prevents the arrest.
The game needs Lucia to be arrested for the story to continue.
What If the Police Catch Lucia Immediately?
That is not a problem.
The opening chase can progress through different short sequences, but getting caught is part of the mission’s intended outcome.
Do not restart the entire mission just because Lucia gets arrested.
Continue through the cutscenes unless the game explicitly displays a mission failure screen.
GTA 6 Prologue Controls for PS5 and Xbox
The Prologue introduces several controls that are important throughout the game.
| Action | PS5 | Xbox Series X|S |
|---|---|---|
| Move | Left Stick | Left Stick |
| Move Camera | Right Stick | Right Stick |
| Focus on Character / Aim | Hold L2 | Hold LT |
| Basic Conversation Selection | X | A |
| Threaten Teller | Square | X |
| Grab Cash | Triangle | Y |
| Run / Sprint | Left Stick Click (L3) | Left Stick Click (LS) |
| Quick-Time Event | Follow Screen Prompt | Follow Screen Prompt |
These controls refer to the default layout shown in launch walkthroughs.
If you changed your controller settings, follow the prompts displayed by your game instead.
GTA 6 Prologue Ending Explained
Minor opening-story spoilers ahead.
After Lucia is arrested in the flashback, the story returns to her meeting with Counselor Gates.
The conversation explains why Lucia’s arrest matters and what she hopes to achieve after leaving prison.
The Prologue establishes that Lucia has personal responsibilities beyond her criminal past. It also introduces the importance of Jason Duval in her plans.
Once the interview ends, the game transitions away from the prison.
The Chapter 1: Just Like Paradise title appears, and control moves to Jason during the next mission.
That marks the end of the Prologue.
GTA 6 Prologue Rewards, Collectibles and Missables
Unlike later missions, the Prologue does not offer a major cash payout, a new vehicle, or an explorable safehouse.
Its main purpose is to introduce Lucia and teach the controls.
Does the Prologue Have Any Rewards?
There is no cash reward listed for completing the Prologue.
However, completing it advances the main story and unlocks the next mission, Gone Fishing.
Are There Missable Collectibles?
No required collectible or unique weapon has been confirmed within the Prologue itself.
You can interact with several inmates and answer Yolanda’s crossword clue, but these are small story interactions rather than major collectible objectives.
You do not need to search every corner of the prison or robbery location before continuing.
Can You Change the Prologue Ending?
The robbery and arrest follow a fixed story outcome.
You can interact with characters and approach the police pursuit differently, but no alternative ending that prevents Lucia’s arrest has been documented.
This means you can focus on learning the controls instead of worrying about making the perfect opening decision.
Best GTA 6 Prologue Tips for New Players
1. Pay Attention to the Interaction Prompts
GTA 6 uses contextual actions for conversations, robberies, and other interactions.
Holding the left trigger near a character reveals actions that are not always available through a simple button press.
Learning this system early helps with later missions.
2. Remember the Crossword Answer
Yolanda’s crossword answer is Venus.
It is a small interaction, but knowing the answer lets you complete it without guessing.
3. Aim Before Threatening the Teller
The robbery uses separate aiming and threatening actions.
Target the teller first, then select Threaten. Do not confuse the threat button with the cash collection button.
4. Don’t Waste Time Trying to Escape Permanently
The police chase ends with Lucia’s arrest regardless of how long you survive.
There is no benefit to restarting repeatedly in search of a successful escape.
5. Read the Minimap During the Chase
The flashing search area teaches you how wanted-level detection works.
Later in GTA 6, breaking police line of sight, changing your appearance, and avoiding identification become useful survival skills.
6. Use the Opening to Adjust Your Settings
If movement, camera sensitivity, or aiming feels uncomfortable, check your control settings before getting further into the story.
For more detailed advice, including combat, driving, wanted levels, saving, and money management, see our GTA 6 beginner’s guide with tips and tricks.
GTA 6 Prologue FAQs
What Is the First Mission in GTA 6?
The first mission is Prologue. You control Lucia Caminos at Hamlet Correctional Facility before playing through a flashback of the robbery that led to her arrest.
What Is the Crossword Answer in the GTA 6 Prologue?
The correct answer is Venus. Lucia’s cellmate Yolanda asks for the planet of love.
Can You Escape the Police in the GTA 6 Prologue?
No. You can run and attempt to evade officers temporarily, but Lucia’s eventual arrest is scripted. You must let the story advance to finish the mission.
How Long Is the GTA 6 Prologue?
The Prologue usually takes approximately 10–15 minutes, including its cutscenes. The time varies depending on how much you interact with inmates and how the police chase progresses.
Who Do You Play as in the GTA 6 Prologue?
You play as Lucia Caminos. Jason Duval becomes the playable protagonist after the Prologue during Gone Fishing.
Can You Skip the GTA 6 Prologue?
The Prologue is a mandatory part of starting the story. There is no confirmed option to begin a fresh playthrough directly in Chapter 1 without completing the opening mission.
Does the Prologue Have a Gold Medal Challenge?
The launch walkthroughs checked do not identify a separate Gold Medal objective for the Prologue. Its primary completion requirement is following the scripted story sequence.
What Mission Comes After the Prologue?
Gone Fishing is the next mission. It begins Chapter 1: Just Like Paradise and introduces Jason’s early work with Cal and Donnie in the Leonida Keys.
What to Do After Completing the GTA 6 Prologue
Once the Prologue ends, you enter Chapter 1: Just Like Paradise.
The game switches to Jason Duval, and the next mission, Gone Fishing, introduces boat travel, an early rescue objective, and the criminal contacts around Key Lento.
From there, you gradually unlock free-roam activities, weapon shops, banking, vehicle services, and opportunities to explore Leonida.
For the complete mission sequence, continue with our GTA 6 Chapter 1 guide and walkthrough. It covers every story mission, early money tips, important collectibles, and what to finish before the chapter’s point of no return.
After Chapter 1, the story continues in Port Gellhorn. Our GTA 6 Chapter 2: Paradise Lost walkthrough explains the missions, motel collectibles, money requirements, and preparations for Vice City.
You can also visit the GamingProMax GTA 6 guides hub for more walkthroughs, gameplay guides, and updates.

