TL;DR
- Stranded is Mission 10 and the only open-world mission in the MW4 campaign
- There are 26 yellow supply crates to find — 24 fixed and 2 mobile (train + convoy truck)
- Opening all 26 unlocks the Time to Crate Gold achievement
- Six crates are locked inside shipping containers — codes listed below
- Two hidden bunkers also require keypad codes
- The sewer crate and the booby-trapped building are the trickiest to get
- No time limit — explore at your own pace in this mission
- Notes found near crates count toward the separate Noteworthy achievement
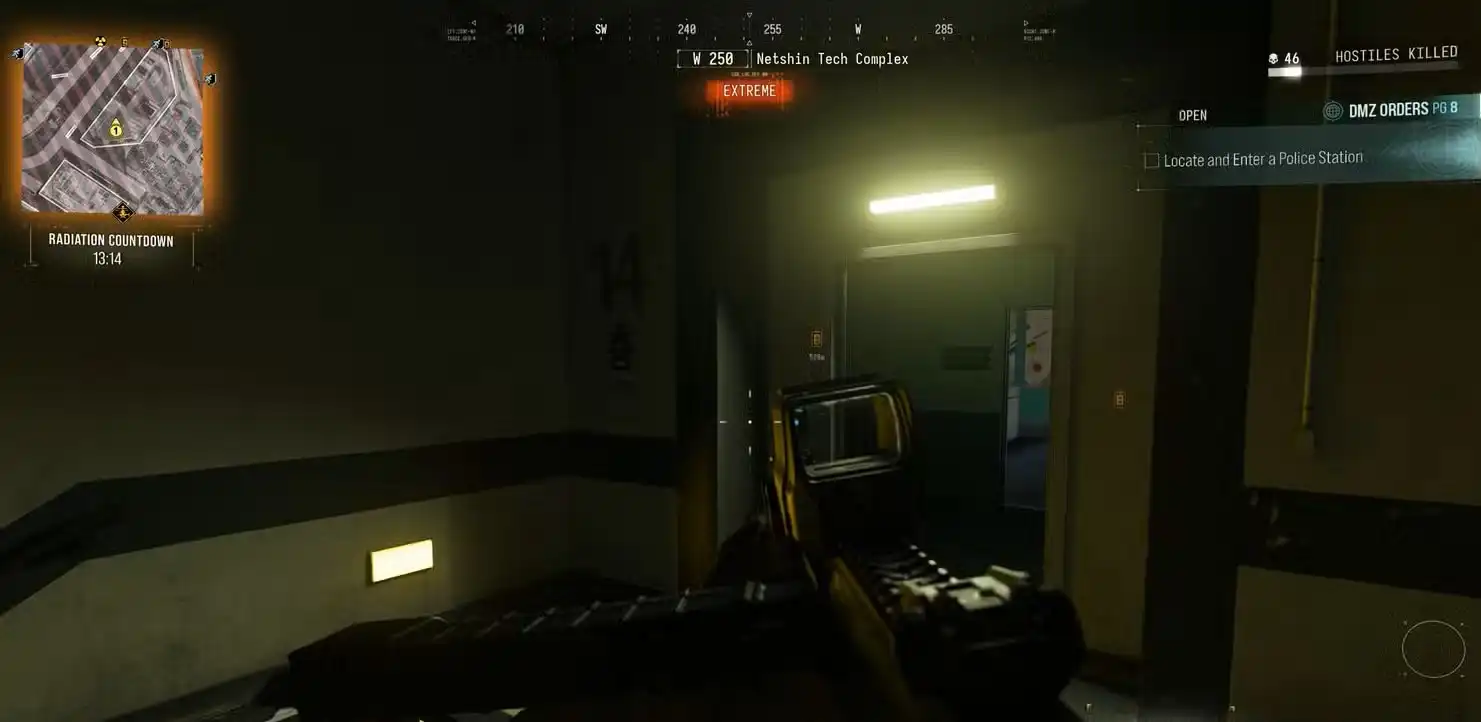
Stranded is unlike any other mission in Modern Warfare 4. It drops you into an open North Korean sandbox — no ticking clock, no linear path — and asks you to find 26 yellow supply crates spread across outposts, sewers, rooftops, a moving train, and a booby-trapped building that will kill you if you are not careful.
Most crates are straightforward once you know the coordinates. A handful demand real effort. And six of them are locked inside shipping containers with keypad puzzles on the door. This guide covers every location, every code, and every trick you need to get all 26 without missing a single one.
For a full breakdown of every trophy in the campaign — including the ones tied to this mission — check our COD Modern Warfare 4 campaign trophy and achievement list. And if you want to understand how your in-game unlocks carry into Warzone, read our MW4 and Warzone carry forward content guide.
What Are Yellow Supply Crates in Stranded?
Yellow supply crates are special loot containers scattered across the Stranded map. They contain upgraded weapons, gear, armor plates, and supplies that feed into your Base Camp resources. Some are out in the open. Others are locked, hidden underground, on moving vehicles, or inside a building wired to blow.
Of the 26 total crates, 24 are at fixed map coordinates. The remaining 2 are mobile — one rides a train looping the southern section of the map, and the other sits on a convoy truck circling Base Camp mountain. Miss either of those and you will not hit 26.
Opening any yellow crate found inside a shipping container also grants intel that marks other locked containers nearby on your tacmap. Do these early and they will save you hunting time. Clearing outposts similarly flags nearby crate locations organically, so sweeping the map methodically is far more efficient than wandering.
All 8 Stranded Puzzle Codes
Six crates are locked inside green shipping containers. Two more sit behind hidden bunker hatches. Each keypad has a note nearby showing previously used codes — the pattern always leads to the next answer. Skip the math with the full list below.
Shipping Container Codes
- Cliff Near Base Camp (646, 158) — Code: 0600
Previous codes on the note: 9300, 6400, 3500. Each drops by 2,900, 2,900, 2,900 — continue the pattern and you get 0600. Reward: Armor Plates, Supplies +5. - Big Sign Container (634, 136) — Code: 1234
Previous codes: 1000, 1200, 1230. The pattern adds one more digit each time — 1234 completes it. Reward: Armor Plates, Supplies +10. - Small Island Container (618, 132) — Code: 6789
Previous codes: 3456, 4567, 5678. Each sequence advances by one. Reward: Supplies +10. - South of Jamming Station (667, 125) — Code: 8609
This one does not follow a simple pattern — the note is cryptic and the answer is non-obvious. Just use 8609. Reward: 3x Drill Charge. - South East Village (652, 187) — Code: 0078
Previous codes: 0012, 0034, 0056. Each pair increases by 22. Reward: X-Void SMG with Subsonic Rounds. - Base Camp Container (near radio tower, 644, 158) — Code: 0024
Previous codes: 0006, 0012, 0018. Each adds 6. Reward: Supplies inside the container.
Hidden Bunker Codes
- NW Island Hidden Bunker (615, 169) — Code: 0008
The clue on the note says the code equals the total number of outposts along the river. Count them on your tacmap after clearing each — there are 8. Always enter as four digits: 0008. Reward: Tracking Device, Thermite. - Farm Field Hidden Bunker — Code: 0330
The clue is the sum of all Logistics Station outpost numbers on the map. Add them together and you get 330. Enter as 0330. Reward: supplies inside the bunker.
Important: All codes with leading zeroes must be entered as four digits. If a code starts with 0, type the full sequence including the zero — for example, 0078, not 78.
All 26 Yellow Crate Locations in Stranded

The 2 Mobile Crates — Do Not Miss These
These are the most commonly missed crates because they are never in the same spot. Both appear as red markers on your tacmap.

Train Crate — A yellow supply crate sits on a train that loops along the southern rail line. Wait near the tracks and board the train when it passes your position. Reward: Mosin-Nagant Marksman Rifle.

Convoy Truck Crate — A patrol truck circles the mountain around Base Camp. It shows up as a moving red icon on your tacmap. Track it down and hop onto the truck bed to grab the crate. Reward: Scout Drone.
Get these early. They are easy to forget while you focus on fixed locations and they will not wait for you.
Outpost Crates — Clear First, Then Loot
Seven crates are inside active enemy outposts. You need to clear the area of enemies before you can access the crate.
- 672, 141 — Armor Plates and a Type 73 LMG with ACOG Scope (Infantry Checkpoint 3)
- 668, 183 — Kastov 762 AR with Silencer (Logistics Station)
- 664, 167 — Supplies +10 (Infantry Checkpoint 2)
- 636, 189 — Kastov 762 AR inside the garage (Auto Shop)
- 631, 169 — Warlord Shotgun with Explosive Rounds (Infantry Checkpoint 1, near the river bridge)
- 622, 121 — Supplies +10 (Infantry Checkpoint 5)
- 609, 125 — Supplies +10 (near the statue base, after clearing the SAM site)

Crates That Need Climbing or Environmental Access
Several crates are up high or blocked and require some effort to reach.
Base Camp Radio Tower (644, 158) — Cross the old bridge from Base Camp after speaking with Kal. Find the large blue-and-white radio tower. Climb the ladder to the first platform, navigate the broken ramp, then use the red-and-white ledges and copper pipes to reach the very top. Reward: Rezi 12 Enforcer Shotgun.
Water Tower by the Railway (648, 199) — Climb the tower using copper pipes on the side. Reward: Tracking Device and 2x Thermite.
Locked House / Bombed Building (651, 134) — The front door is sealed shut. Climb onto the roof and drop through the opening to get inside. Reward: Kastov 762 AR with an underbarrel shotgun attachment.
Broken Staircase (616, 141) — Scale the broken staircase beside the elevator shaft to reach the crate at the top. Reward: Supplies +10.
Blocked Storage (640, 131) — A stack of crates blocks the shipping container door at Artillery Battery 6. Use an explosive to clear them. Reward: Armor Plates and Supplies +5.
The Remaining Static Crates
- 671, 121 — Supplies +10 (beside the Jamming Tower)
- 657, 205 — WZ .55 Striga Rampage SMG (near the Bunker entrance)
- 657, 118 — Sang 9mm Pistol (Logistics Station, northeast)
- 646, 170 — Backpack Upgrade (Artillery Battery 7)
- 615, 142 — Supplies (Logistics Station)
- 605, 114 — Supplies (SAM Site area)
The Sewer Crate — Full Walkthrough (639, 165)
This is the most involved crate in the entire mission and the one most players give up on. Follow these steps exactly.
Start southwest of Base Camp. Look for a white-and-blue garage at the question-mark location on your map. Go inside and grab the Water Treatment Note. Then take the ladder on the opposite side of the building down into the sewer network.
The sewer uses two separate arrow-pattern puzzles written on walls and cardboard signs. The important thing most players get wrong: you are not following the literal direction each arrow points. You follow the pattern of turns the arrows represent relative to your current facing.
First tunnel sequence: Forward, Right, Forward, Forward, Left, Left.
Second tunnel sequence: Forward, Right, Forward, Left, Forward, Left, Left, Down.
Stay prone to fit through the narrowest tunnels. At the end of the second sequence you drop down to find the crate along with the Sewer Smuggler Remains Note.
If you get turned around inside, backtrack to the last arrow sign you passed and restart the sequence from that point. Guessing at intersections will loop you in circles.
The Booby-Trapped Building (605, 115)
This crate is in the far northwest corner of the map, inside a store at the top of a hill. The building is wired with tripwire explosives throughout. It also holds the best weapon reward in Stranded: the Hyeon Burst AR with a thermal scope and silencer.
Here is how to get in safely:
- Before entering, throw a grenade through the doorway to detonate the tripwires near the entrance
- Once the entrance is clear, go inside and immediately jump over the shop counter
- Hug the right-side wall tightly as you move toward the crate
- The explosives deeper inside the building cannot be pre-detonated remotely — the wall-hugging route is the only safe path through them
Do not sprint through this building. The tripwires past the counter are positioned exactly where someone running carelessly would trigger them.
Quick Reference: All 8 Puzzle Codes
- Base Camp Container: 0024
- Cliff Near Base Camp: 0600
- Big Sign Container: 1234
- South East Village: 0078
- Small Island Container: 6789
- South of Jamming Station: 8609
- Farm Field Hidden Bunker: 0330
- NW Island Hidden Bunker: 0008
Time to Crate Achievement — What You Need to Know
The Time to Crate achievement requires opening all 26 yellow supply crates in a single run of the Stranded mission. There is no partial credit carried between sessions. Plan to complete the full list in one sitting.
The two mobile crates are the most time-sensitive. The convoy truck circles continuously, so it is just a matter of intercepting it. The train also loops the same route — position yourself near the southern rail tracks early and wait for it to come to you.
Crates inside shipping containers open the moment you enter the correct code. Crates inside outposts unlock once all enemies in the area are down. Neither requires completing any other objective first.
The Stranded mission also contains the bulk of the notes needed for the Noteworthy achievement (read 50 different notes across the campaign). Many notes sit close to yellow crate locations, so grabbing them both in the same sweep is efficient. Just remember — the four notes from Mission 3: Following Orders do not count toward Noteworthy. They are tracked separately.
Stranded is also where you gather the Supplies needed for the Scavenger Gold achievement, which requires repairing all 12 items at Base Camp. The Supplies you collect from yellow crates and backpacks during your crate hunt will cover most of the 195 Supplies that Scavenger demands.
Where to Get COD Modern Warfare 4
- Call of Duty Modern Warfare 4 on Steam (PC)
- Call of Duty Modern Warfare 4 on PlayStation Store
- Call of Duty Modern Warfare 4 on Xbox
For more campaign guides, see our guide on how to beat Makarov in MW4, the Modern Warfare 4 campaign early access details, and the full MW4 Vault Edition rewards and pre-order bonuses breakdown.
Frequently Asked Questions
How many yellow supply crates are in Stranded?
There are 26 yellow supply crates in total. 24 are at fixed map locations. The remaining 2 are mobile — one on a train looping the southern rail line, and one on a convoy truck circling Base Camp mountain.
What achievement do you get for finding all yellow crates in Stranded?
Opening all 26 yellow supply crates in a single run of Stranded unlocks the Time to Crate Gold achievement, worth 50 Gamerscore on Xbox.
What are the keypad codes for the shipping containers in Stranded?
The six shipping container codes are: 0024 (Base Camp), 0600 (Cliff Near Base Camp), 1234 (Big Sign), 0078 (South East Village), 6789 (Small Island), and 8609 (South of Jamming Station). Always enter codes with their leading zeroes as four digits.
What are the hidden bunker codes in Stranded?
There are two hidden bunkers. The NW Island Bunker (615, 169) uses code 0008 — equal to the number of river outposts on the map. The Farm Field Hidden Bunker uses code 0330 — the sum of all Logistics Station outpost numbers.
Where is the sewer crate in Stranded?
Start at the white-and-blue garage southwest of Base Camp. Grab the Water Treatment Note inside, then take the ladder down into the sewers. Follow the arrow puzzles: the first tunnel sequence is Forward, Right, Forward, Forward, Left, Left — and the second is Forward, Right, Forward, Left, Forward, Left, Left, Down. Stay prone through the narrow passages. The crate is at the end of the second sequence.
What is in the booby-trapped building in Stranded?
The booby-trapped store at coordinates 605, 115 in the northwest corner contains the Hyeon Burst AR with a thermal scope and silencer — the best weapon reward in the mission. Throw a grenade through the door first to clear the entrance tripwires, then jump the counter and hug the right-side wall to avoid the deeper explosives.
Do yellow crate notes in Stranded count toward Noteworthy?
Yes. Notes found near yellow crate locations in Stranded count toward the Noteworthy achievement, which requires reading 50 of the campaign’s 64 total notes. Stranded contains the majority of all notes in the game, so picking them up while hunting crates is the most efficient approach.
Can I replay Stranded to get missed crates?
Yes. Mission select lets you replay any completed mission. However, the Time to Crate achievement requires all 26 crates in a single run — you cannot accumulate them across multiple sessions. If you miss any, replay the full mission and collect all 26 in one go.