TL;DR – Quick Takeaways:
- MW4 DMZ has 13 bosses total — 3 Commanders and 10 Lieutenants.
- Commanders (Colossus, Deathstalker, Tank) roam Hajin with no fixed spawn. They appear on your Tac-Map when you get close and pay $50,000 from the Boss Board.
- Lieutenants have fixed locations and pay $10,000 each on the Boss Board. You must extract their Dog Tag to claim the reward.
- Buy Lieutenant intel at the Boss Board (costs $25,000) to get a side op that tracks them. Commander intel is always free.
- The Scavenger is the only Lieutenant without a fixed location — he spawns near dead players.
- Commanders drop Legendary 3D Printer Ingredients on extraction. Lieutenants drop weapon blueprints and unique keys.
- The Boss Board unlocks after your second DMZ Order — not by level.
How DMZ Bosses Work in MW4
MW4 DMZ splits its bosses into two types: Commanders and Lieutenants. They work differently, they’re found differently, and they reward you differently.
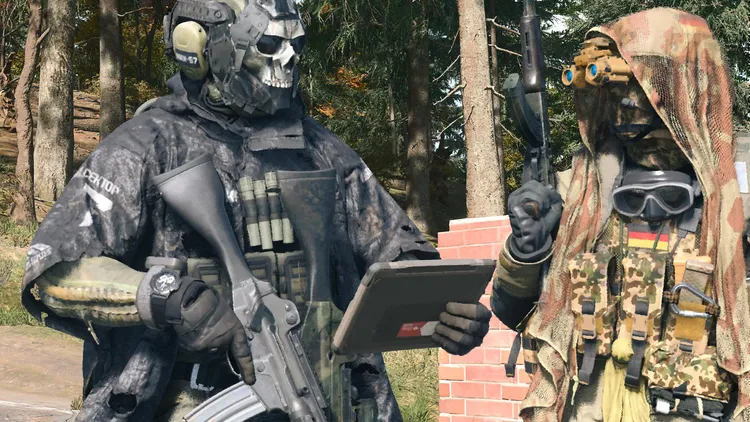
Commanders are always somewhere on the map. They roam Hajin continuously, have no set spawn, and appear on your Tac-Map when you get close enough. A banner pops on screen with the Commander’s name and current area. These are big threats — they don’t wait around and their escort teams are dangerous. Killing a Commander and then extracting earns you valuable Legendary 3D Printer Ingredients. The first time you kill a specific Commander, you also claim a $50,000 Boss Board bounty.
Lieutenants are named high-value targets tied to specific points of interest on Hajin. They don’t roam — they hold their territory. Each has its own fighting style, its own escorts, and drops a Dog Tag on death. Extract the Dog Tag to claim the $10,000 Boss Board reward. They also drop unique weapon blueprints, personal keys to locked areas, and occasionally rare Weapon Manuals.
The Boss Board at your FOB tracks all 13 bosses. It has two tabs — Lieutenants and Commanders. Buying intel on a Lieutenant ($25,000 per hunt) gives you an in-game side op with a live tracker. Commander intel is always free on the board. The Boss Board unlocks after you complete your second DMZ Order.
Want to know how the Boss Board rewards stack up with the rest of DMZ progression? Check our DMZ XP and level unlocks guide and the full DMZ Prestige rewards breakdown.
All Commander Locations in MW4 DMZ
Commanders are always on the map — you don’t need to hunt a specific location, just get close enough for the Tac-Map icon to appear. Each Commander has areas where it’s been sighted regularly, but these aren’t guaranteed spawns.
Colossus
Type: Commander | Boss Board Reward: $50,000
Common sighting areas: Cheongun Village, Songdo Wharf, Chang-san Air Base, 14th Political Prison (The Citadel), NK Wilderness
Colossus is a heavily armoured soldier standing around seven feet tall, carrying a depleted uranium Minigun. It’s the most aggressive of the three Commanders and has a large health pool. The key thing: grenades and explosives barely scratch it. Thermites, Semtex, and similar don’t work reliably. You need sustained automatic weapon fire.
When fighting Colossus, get to height or cover and fire down. It uses a green gas attack — stay out of it. A scoped sniper rifle or high-rate LMG from a stairwell landing or elevated position is the cleanest approach. Colossus also appears as a named enemy during the Operation Iron Citadel story mission at Chang-san Air Base.
Drops: Experimental Compounds, Military Composites (Legendary 3D Printer Ingredients)
Deathstalker
Type: Commander | Boss Board Reward: $50,000
Common sighting areas: NuriGO Mall area, DBN Headquarters, eastern side of the map generally
The Deathstalker is an autonomous attack drone the size of a helicopter — no pilot, fully armed, and aggressive. It patrols the sky over Hajin rather than staying at ground level, so fighting it means shooting up.
The fastest way to bring it down is a captured SAM site. One well-aimed SAM missile takes it out clean. If you don’t have a SAM site, sustained fire from a scoped sniper rifle targeting the cockpit and hull from somewhere like the DBN Headquarters helipad can down it in around 25 seconds. Once it goes down, you’ll see a “DESTROYED DEATHSTALKER COMMANDER” banner. The Deathstalker also appears during the Operation Grid Assault story mission where it attacks the helipad, and shares the DBN Headquarters rooftop with Lieutenant Roze.
Drops: Prototype RF Module (Legendary 3D Printer Ingredient), Drone Motherboard
North Korean Battle Tank
Type: Commander | Boss Board Reward: $50,000
Common sighting areas: Roads and highways across South Korea side of Hajin — no fixed spawn
The Tank is a fully operational North Korean battle tank that patrols Hajin’s road network. It’s arguably the hardest Commander to kill because standard explosives like Thermites and Semtex don’t do meaningful damage. You need anti-armour weapons — a Javelin, RPG, or SAM launcher are the most effective options. Concentrate fire on the rear and top of the tank where armour is thinner.
After killing the Tank, check three separate loot spots on the wreck — front, rear, and top. Each can hold different items, so don’t just loot from one side.
Drops: Nano-Structured Alloy (Legendary 3D Printer Ingredient)

All Lieutenant Locations in MW4 DMZ
Lieutenants hold fixed territories in Hajin. Ten to track down, each tougher than a regular AI soldier, each with their own mechanics. Extract their Dog Tag to claim the Boss Board bounty.
Gorani
Location: Mujin Pass (above Hanrim Village) | Threat: Medium
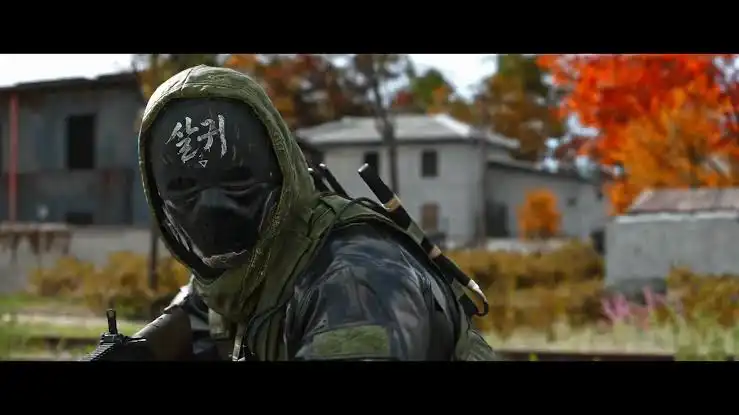
Gorani is a ghillie-camo sniper with a water-deer skull mask who works the woodland above Hanrim Village. He’s hard to spot because his camo blends into the brush, and his escort team ambushes from the treeline — you’ll often take fire from multiple directions before you even see him. Approach from elevation where possible and clear the area methodically before pushing to Gorani himself.
Drops: Mar-9 Marksman Rifle, Dog Tags
The Chemist
Location: Haneul Nuclear Reactor radiation zone | Threat: High
The Chemist is inside the radiation zone at the Haneul Nuclear Reactor — you need Radiation Blockers before going in or the zone will steadily drain your health. He’s in a warehouse near the reactor tanks. The side op reads “Paid Intel: Reach Chemist” when you buy intel, then switches to “Paid Intel: Kill Chemist” once you arrive. Get over the fence and into the warehouse quickly — the radiation effect is on a timer.
Drops: Oris 8.6 Marksman Rifle Legendary Blueprint, Dog Tags
Jin-Tae
Location: Heavenly Luck Casino, Cheongun Village | Threat: High
Jin-Tae holds the casino. The Heavenly Luck Casino is already a contested area — it’s a key location for the Operation Silent Ledger story mission and has the Vault Armory for Weapon Manuals. Clear the casino floor before pushing toward Jin-Tae’s position. A familiar building layout helps a lot here.
Drops: ISO Nightshade SMG Legendary Blueprint (Highroller’s Fortune), Dog Tags
The Doctor
Location: Mirae General Hospital | Threat: Low
The Doctor appears inside Mirae General Hospital — the same building used in the Operation Critical Extraction story mission. Despite the Low threat rating on the area, The Doctor himself is a tough fight with armoured escorts. He can spawn in the upper-floor wards during the Critical Extraction mission, or in the garage under the hospital during free roam runs.
Killing The Doctor drops a key to his Command Office — that office holds an LT Crate with a 3D Printer recipe (the Tempered Armor Vest recipe). Always take his key.
Drops: Patriot XMR Assault Rifle Legendary Blueprint, Dog Tags, The Doctor’s Command Office Key
Bale
Location: Re-Education Center, Deadtown | Threat: Medium
Bale is a Spetsnaz trainer who keeps North Korean forces sharp at the Re-Education Center in Deadtown. He’s also linked to the Chang-san Air Base — he appears in the Tank Depot of the Air Base Bunker during the Chemical Denial Dynamic Op. Bale fights with elite troops as close support, so clear his outer guard layer before pushing in. He’s connected to the Operation Iron Citadel area of the map.
Drops: Type 73 LMG, Dog Tags
Iskra
Location: Cheonwang Peak Array (east of The Grid) | Threat: Medium
Iskra holds the communications array east of The Grid. The approach to Cheonwang Peak is exposed and the array itself is well-defended. Flanking routes from the hillside work better than a direct push up the main path.
Drops: Warlord Shotgun, Dog Tags
Jang-Ui
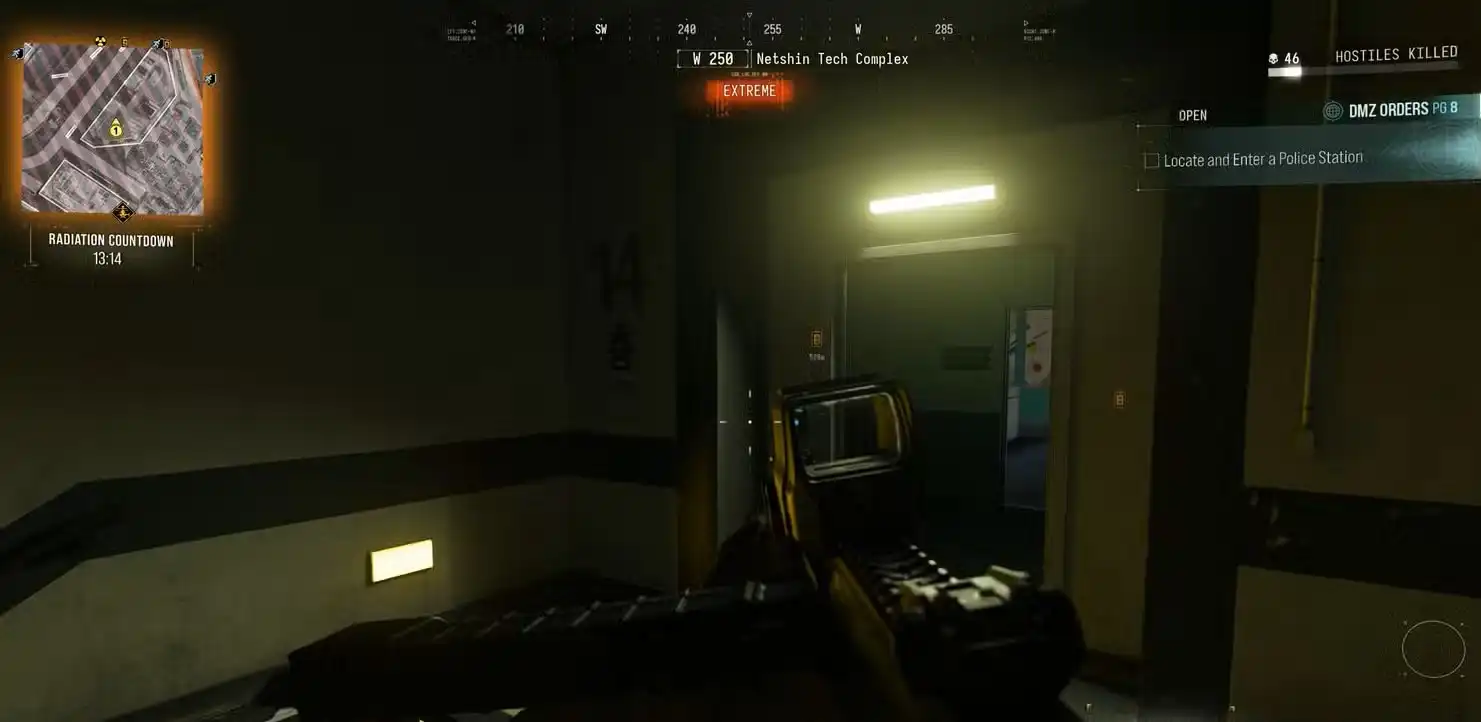
Location: Netshin Tech Complex, The Grid | Threat: Extreme
Jang-Ui is inside the Netshin Tech Complex in The Grid — one of the highest-threat areas on the map. Jang-Ui himself isn’t the main problem. The complex’s automated defences are. Robot dogs that explode patrol the floor, and laser systems that cut through armour instantly can catch you off-guard. Clear the defences methodically before pushing to Jang-Ui. He’s also tied to the Operation Shopping Hacks story mission, which takes place at NuriGO Mall in the same district.
Drops: Hyeon Burst Assault Rifle Blueprint, Dog Tags
The Warden
Location: 14th Political Prison (North Korea) — main prison yard or The Citadel | Threat: High to Critical
The Warden guards the northern prison and carries a Riot Shield — shooting him head-on does almost nothing. The only effective approach is flanking. Send one player to hold the shield’s attention while the rest push from the sides and unload into his exposed body at close range. The Warden drops “Kang’s Dog Tag” — not “Warden’s Dog Tag” — so look for that name when looting the body. He can appear in the main prison or deeper inside at The Citadel, which has a Critical threat rating.
Drops: X-58 NYX SMG (Incarcerator Blueprint), Kang’s Dog Tag
Roze
Location: DBN Headquarters rooftop, The Grid | Threat: Critical
Roze is a sniper holding the rooftop terraces of DBN Headquarters — multiple floors up. Getting to her means climbing the emergency stairwell under fire, then navigating the exposed roof with limited cover. Use the HVAC units to break line of sight and restore plates before pushing toward her. She goes down near the roof’s edge.
Two things to watch for: the Deathstalker Commander helicopter also patrols this roof, so you can find yourself fighting both at once. And Roze also appears in the Operation Grid Assault story mission in this same building, where killing her gives you the second code segment needed to complete the mission.
Drops: Astaroth .57 Legendary Blueprint, Dog Tags
The Scavenger
Location: Roams — spawns near dead players | Threat: Variable
The Scavenger is the only Lieutenant with no fixed territory. He appears near recently dead players to loot their bodies — which means he can show up anywhere on the map. Use Lieutenant Hunt Towers to get the closest Lieutenant’s location; if the Scavenger is nearby, it’ll be him. He’s also revealed when other players die around you, so stay alert after PvP encounters.
Drops: Oris 8.6 Marksman Rifle, Dog Tags
Boss Board Rewards Summary
- Each Lieutenant killed + Dog Tag extracted: $10,000 Boss Board bounty
- Each Commander killed + extraction: $50,000 Boss Board bounty + Legendary 3D Printer Ingredients
- Kill All Hajin Lieutenants Once: tracked challenge with its own reward
- Multiple challenges track Lieutenant kills over time — repeating kills builds toward bonus rewards
Dog Tags are fragile — if you die carrying one, the tag can be looted. Use a Secure Slot in your backpack to protect it on the way to exfil. Check our guide on Weapon Manuals in DMZ for more on protecting high-value items during extraction.
Tips for Hunting Bosses in MW4 DMZ
- Buy Lieutenant intel before you deploy. The $25,000 cost at the Boss Board gives you a live side op tracker in the field — much faster than searching blind. Commander intel is always free.
- Don’t fight Jang-Ui first. The Netshin Tech Complex at Extreme threat is the most dangerous boss area. Build experience and gear before going there.
- Bring Radiation Blockers for The Chemist. The radiation zone at Haneul Nuclear Reactor will kill you fast without protection.
- Use SAM sites on aerial targets. The Deathstalker goes down in one SAM missile. Find and capture a SAM site first, then pull it into range.
- The Warden needs flanking. His Riot Shield makes frontal assault useless. Split your squad — one to distract, others to flank.
- Check three spots on the Tank wreck. Front, rear, and top each hold separate loot. Miss one and you miss potential Legendary materials.
- Colossus hates explosives. Skip grenades entirely. High-rate automatic fire from cover or elevation is the play.
- Watch the sky at DBN Headquarters. Roze and the Deathstalker can be active at the same time on the same rooftop — that’s two bosses at once.
For more on the DMZ grind, check our guides on all Story Missions and rewards, the Wanted Hunter system, dog tag locations and safe code solutions, and the New Zealand early access method.
Pick up MW4 on Steam, PlayStation Store, or Xbox.