TL;DR – Quick Takeaways:
- There are 6 DMZ Story Missions at MW4 launch, split across three tiers.
- Tier 1 (available first): Operation Critical Extraction, Operation Silent Ledger, Operation Shopping Hacks — all Medium threat.
- Tier 2 (unlocks after all three Tier 1s are done): Operation Iron Citadel, Operation Grid Assault — both Critical threat.
- Tier 3 (unlocks after both Tier 2s): Operation Fallen Ember — the final mission, Extreme threat.
- Every mission pays 25,000 DMZ Cash plus a unique item or vehicle reward.
- Story Missions are infinitely repeatable — but one-time vehicle unlocks like the LTV or Helicopter don’t stack.
- Deploy from the FOB using Story Missions on the deploy screen, not Free Roam or Dynamic Operations.
How DMZ Story Missions Work in MW4
DMZ Story Missions are the narrative spine of Modern Warfare 4’s extraction mode. They follow the events after the MW4 campaign, as Hajin became an exclusion zone following the Supreme Leader’s fall — and a new threat started filling the vacuum.
Unlike Dynamic Ops (which are random) or Side Ops (which you find in the field), Story Missions are chosen before you deploy. At the FOB, press Deploy, select Story Missions under deployment type, then pick the operation you want.
The six missions are arranged as a tree. You start at the bottom and work up. All three Tier 1 missions must be completed before the Tier 2 pair unlocks, and both Tier 2s must be done before Fallen Ember opens at the top.
Each mission is infinitely repeatable. You can grind them for cash and items — though vehicle unlocks like the LTV and Helicopter are one-time rewards that don’t duplicate on replays. New missions will be added with future seasonal updates.
To understand the DMZ progression system better, check out our DMZ XP and level unlocks guide.
All 6 MW4 DMZ Story Missions at a Glance
- Operation Critical Extraction — Mirae General Hospital | Tier 1 | Medium
- Operation Silent Ledger — Heavenly Luck Casino, Cheongun Village | Tier 1 | Medium
- Operation Shopping Hacks — NuriGO Mall | Tier 1 | Medium
- Operation Iron Citadel — Chang-san Air Base | Tier 2 | Critical
- Operation Grid Assault — The Grid (financial district) | Tier 2 | Critical
- Operation Fallen Ember — Haneul Nuclear Reactor | Tier 3 | Extreme
Tier 1 Story Missions (Available at Start)
Operation Critical Extraction
Location: Mirae General Hospital
Threat Level: Medium
Recommended Gear: 2-Plate Armor Vest, Medkit
This is the first Story Mission most players will run, and it’s an escort job. A North Korean commander named General Kang is recovering in Mirae General Hospital. Your job is to locate him, fight through the enemy resistance holding the hospital, push his bed through the building and get him on the rooftop exfil chopper alive.
The mission runs through six objectives in order — approach the hospital, find General Kang, then escort him out while clearing waves of enemies along the way. A radiation countdown ticks in the background, so don’t hang around too long in any one area.
One notable enemy here is The Doctor, a named Lieutenant who can appear during this mission. He’s worth killing — he drops a key to his Command Office, which holds a 3D Printer recipe. Check our DMZ lab door guide for more on powering restricted areas in the map.
Rewards:
- Mirae Electrical Room Key
- Defibrillator
- 25,000 DMZ Cash
This mission also completes the final order in the Human Intel chapter of your DMZ Orders. It’s tied to the Payment Due order progression — our Dynamic Op Phone guide covers the steps leading up to it.
Operation Silent Ledger
Location: Heavenly Luck Casino, Cheongun Village
Threat Level: Medium
Recommended Gear: 2-Plate Armor Vest, Medkit
Silent Ledger is a straight-up casino heist. Your target is a set of stolen printing plates hidden inside the Heavenly Luck Casino vault. The three main objectives are: Enter the Casino, Breach the Vault, and Secure the Plates.
In practice, that means starting the basement generator to restore power, accessing the Penthouse Security station to open the vault fence on Camera 01, then drilling the vault and holding your position while enemy waves push back. The PLATE BAG sits in the inner cage — grab it and carry it to the exfil chopper to finish.
There are optional cash bags scattered around the casino (up to $18,000 worth). A useful tip: throw the heavy bags onto the nearby van rather than carrying them manually — much faster. This mission closes out the Counterfeit chapter in DMZ Orders.
Rewards:
- Gold Bar
- Counting Room Vault Key
- Polaris Dagor A1 (Paid Infil Vehicle)
- 25,000 DMZ Cash
The Counting Room Vault Key is worth holding onto. See our guide on the Counting Room location and police stations in DMZ to get the most out of it.

Operation Shopping Hacks
Location: NuriGO Mall
Threat Level: Medium
Recommended Gear: 2-Plate Armor Vest, Medkit, Night Vision Goggles
Shopping Hacks sends you after Lieutenant Jang-ui’s encampment inside NuriGO Mall. The enemy has set up a weapons program inside the shopping district and you’re going in to hack their network, reprogram their protocol, and extract any evidence.
The mission runs through about eight objectives. Early on you’ll hack a laptop at the encampment, which gives you a keypad code you’ll need for the underground parking area — write it down, because it changes every match. After that you’ll descend into the mall’s underground Robotics Lab, hack five lab computers, collect four K9 cores, and then escape to the rooftop for a Fulton extraction. The Bio-agent Sample also needs to be secured before exfil.
Bring Night Vision Goggles if you have them. The underground sections are dark and enemies are harder to spot without NVGs. This mission closes out the Underground chapter of DMZ Orders.
Rewards:
- Coin Mining Den Key
- Night Vision Goggles
- 25,000 DMZ Cash
Tier 2 Story Missions (Unlocks After All Three Tier 1s)
Operation Iron Citadel
Location: Chang-san Air Base
Threat Level: Critical
Recommended Gear: 3-Plate Armor Vest, Medkit, Ammo Box
Iron Citadel steps up the difficulty significantly. You’re assaulting a North Korean military air base — Chang-san Air Base — and the objectives are more complex than anything in Tier 1. The mission runs through 14 HUD objectives, starting with approaching the perimeter and infiltrating the base.
One key step inside is finding the armory keycode. You collect three transfer slips from around the base, each with a segment of the code — and the numbers change every match, so there’s no fixed code to look up. Compile the segments, open the armory, plant explosives on the strike aircraft, then get out with the armory manifest.
Lieutenant Bale is the named enemy tied to this location (he also appears during the Dynamic Op “Chemical Denial” in the Tank Depot of the bunker). Bring an ammo box — the base is heavily defended and you’ll burn through ammunition in the later stages.
Rewards:
- Supreme Leader’s Bunker Access Card
- LTV (Paid Infil Vehicle unlock)
- 25,000 DMZ Cash
Operation Grid Assault
Location: The Grid (financial district)
Threat Level: Critical
Recommended Gear: 3-Plate Armor Vest, Medkit
Grid Assault takes place in Hajin’s financial district. A radio tower at DBN Headquarters is broadcasting enemy drone commands across the city and you need to shut it down. The mission’s main objectives run across DBN Headquarters and Hanex Bank.
This one has a code mechanic similar to Iron Citadel. You collect two hash key segments from targets in the field, compile them, and upload the kill code — rather than finding slips to read and type. The objectives run through six steps total, ending with a rooftop broadcast sequence before exfil.
Notably, Roze appears as a named enemy in this mission. Killing her completes an optional Side Op (Kill Roze) that runs alongside the main objectives. Taking down the Deathstalker drones that appear can also earn you a bonus challenge completion for eliminating five Commanders.
Rewards:
- Roze’s Highrise Armory Key
- Helicopter (Paid Infil Vehicle unlock)
- 25,000 DMZ Cash
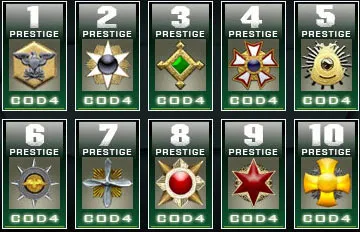
If you’re working on DMZ progression alongside these missions, check out the FOB Stations guide and the full DMZ Prestige requirements and rewards breakdown.
Tier 3 Story Mission – The Final Operation
Operation Fallen Ember
Location: Haneul Nuclear Reactor
Threat Level: Extreme
Recommended Gear: 3-Plate Armor Vest, Medkit, Gas Mask, Radiation Blockers
Fallen Ember is the final Story Mission at launch and the hardest one. The enemy is moving on uranium rods at the Haneul Nuclear Reactor. Your job is to breach the reactor, secure the rods, and extract them after decontamination.
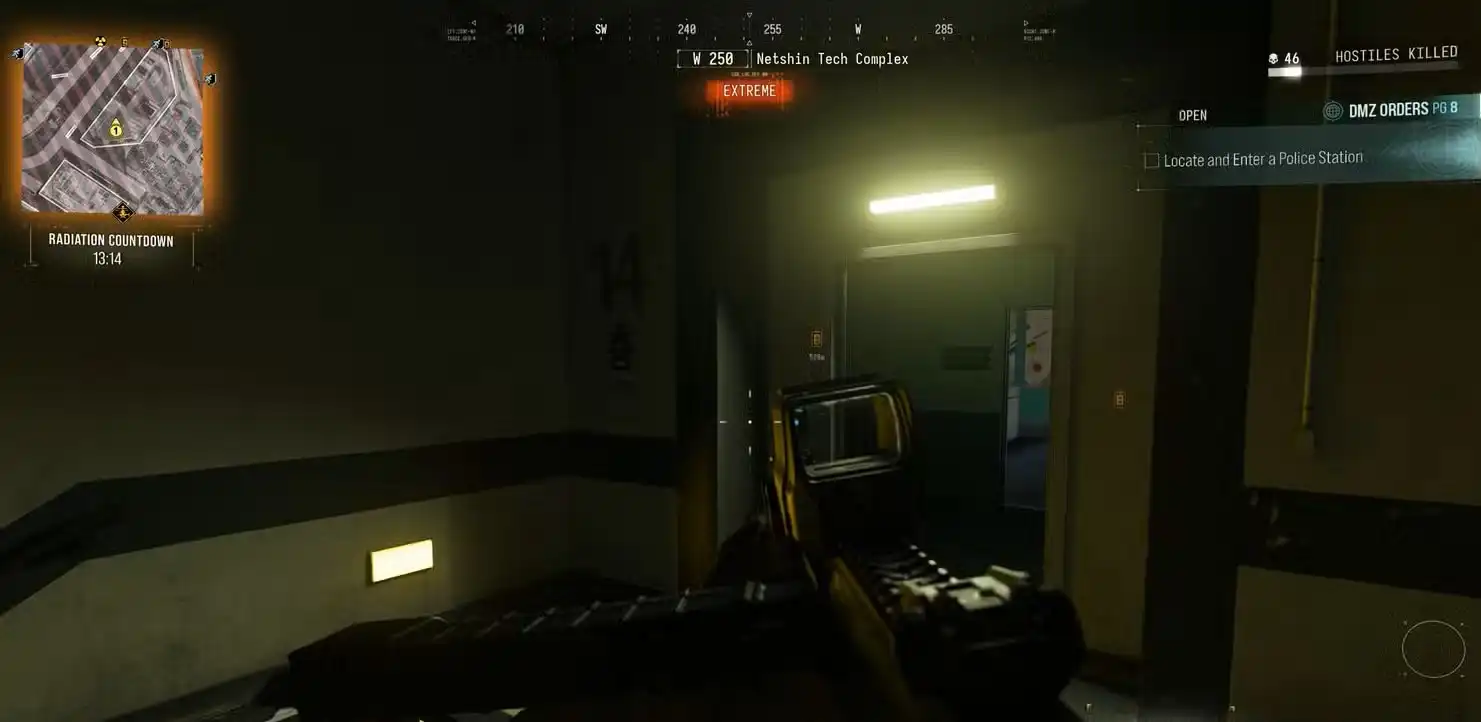
The threat rating is Extreme — a step above Critical — and this mission adds radiation as a genuine hazard. Without a Gas Mask and Radiation Blockers, the irradiated areas inside the reactor will chip away at your health constantly. Don’t skip this gear.
The mission runs through 15 objectives inside the nuclear facility, including a section inside a flooded fuel rod pool. The final sequence involves escaping by patrol boat, and the MISSION COMPLETE banner appears on the water. Note that no cutscene or credits roll after this — you keep control of your operator and the match continues until you exfil normally.
After Fallen Ember, the DMZ story sits open-ended — clouds still on the horizon. More Story Missions are expected to arrive with future seasonal updates.
Rewards:
- Reactor DRC Locker Key
- Cargo Plane (Paid Infil Vehicle unlock)
- 25,000 DMZ Cash
Complete Story Mission Rewards List
- Operation Critical Extraction: Mirae Electrical Room Key, Defibrillator, 25,000 Cash
- Operation Silent Ledger: Gold Bar, Counting Room Vault Key, Polaris Dagor A1, 25,000 Cash
- Operation Shopping Hacks: Coin Mining Den Key, Night Vision Goggles, 25,000 Cash
- Operation Iron Citadel: Supreme Leader’s Bunker Access Card, LTV, 25,000 Cash
- Operation Grid Assault: Roze’s Highrise Armory Key, Helicopter, 25,000 Cash
- Operation Fallen Ember: Reactor DRC Locker Key, Cargo Plane, 25,000 Cash
Completing all six missions earns a total of 150,000 DMZ Cash in base rewards, alongside all the unique item and vehicle unlocks.
Tips for Completing DMZ Story Missions Efficiently
- Do the Tier 1 missions in any order. All three need to be done to unlock Tier 2, but the order doesn’t matter. Start with Critical Extraction since it’s also required by your Human Intel DMZ Orders.
- Bring the right plate vest. Tier 1 missions work fine with a 2-Plate. Tier 2 and Fallen Ember need a 3-Plate Armor Vest — don’t downgrade on these.
- Always bring a Medkit. Every mission recommends one for a reason. The harder missions hit you fast and hard.
- The keypad codes change every match. In Shopping Hacks, Iron Citadel, and Grid Assault, the codes are randomised per deployment. Read them from the source in-match rather than looking for a fixed number online.
- Replay for cash, not vehicles. The 25,000 Cash reward stacks on replays. Vehicle unlocks like the LTV, Helicopter, and Cargo Plane are one-time only — you don’t get a second Polaris Dagor for running Silent Ledger again.
- Use Dynamic Ops between Story Missions. They pay good cash and XP, and chaining them between story runs maximises your rewards per session. Our Dynamic Op Phone guide walks through how to start them.
- Squad up for Tier 2 and Tier 3. Critical and Extreme threat missions hit much harder than Medium. Solo is possible but expect a much tougher time, especially in Iron Citadel and Fallen Ember where enemy density and environmental hazards stack up.
- Check your Operator Traits before hard missions. The right traits make a real difference. See all MW4 DMZ Operator Traits and how to unlock them.
Do Story Missions Count Toward DMZ Camo Challenges?
Yes. Kills made inside Story Missions count toward your shared Camo Track progress — so you’re working toward Gold, Platinum, and Mastery camos at the same time as completing missions. Story Mission deployments also earn DMZ XP and contribute to your DMZ Prestige progress.
Ready to get into DMZ? Pick up MW4 on Steam, PlayStation Store, or Xbox.